Two objectives for day 7. Glue up 2nd leg sections and work on plan details for the fourth top section. The forth and last top section has the dog holes and tail vise slot incorporated in it. So this has to be planned out.
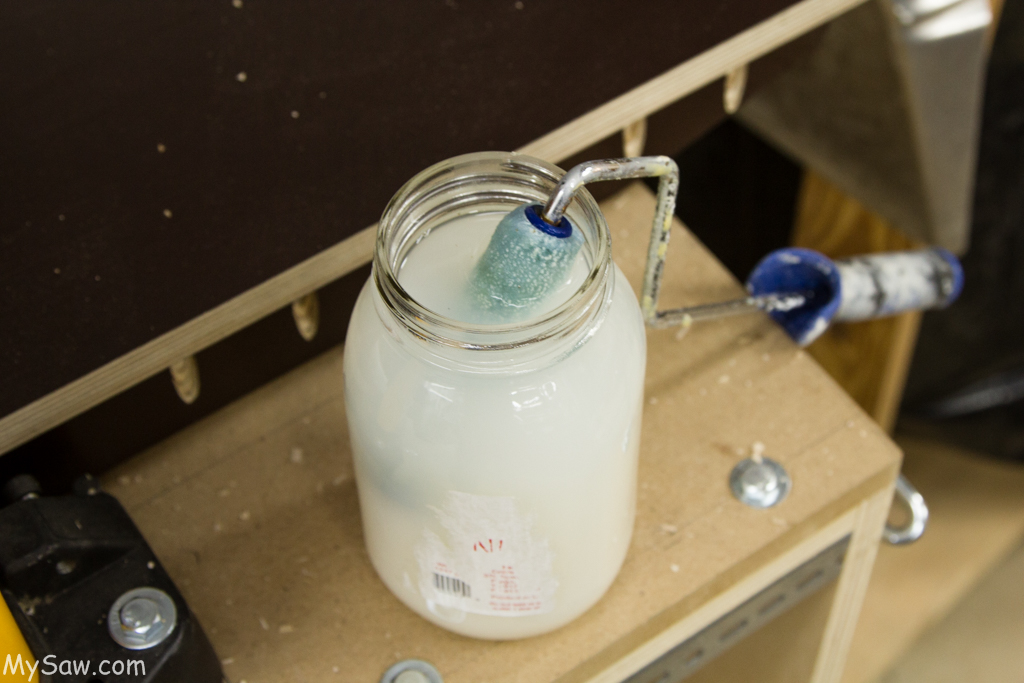
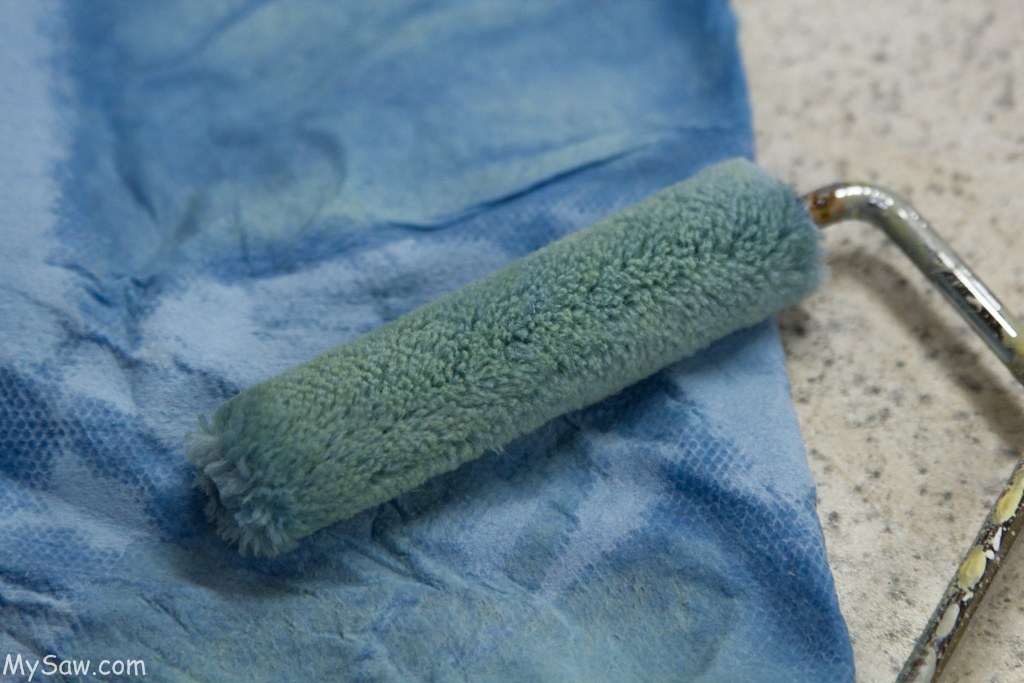
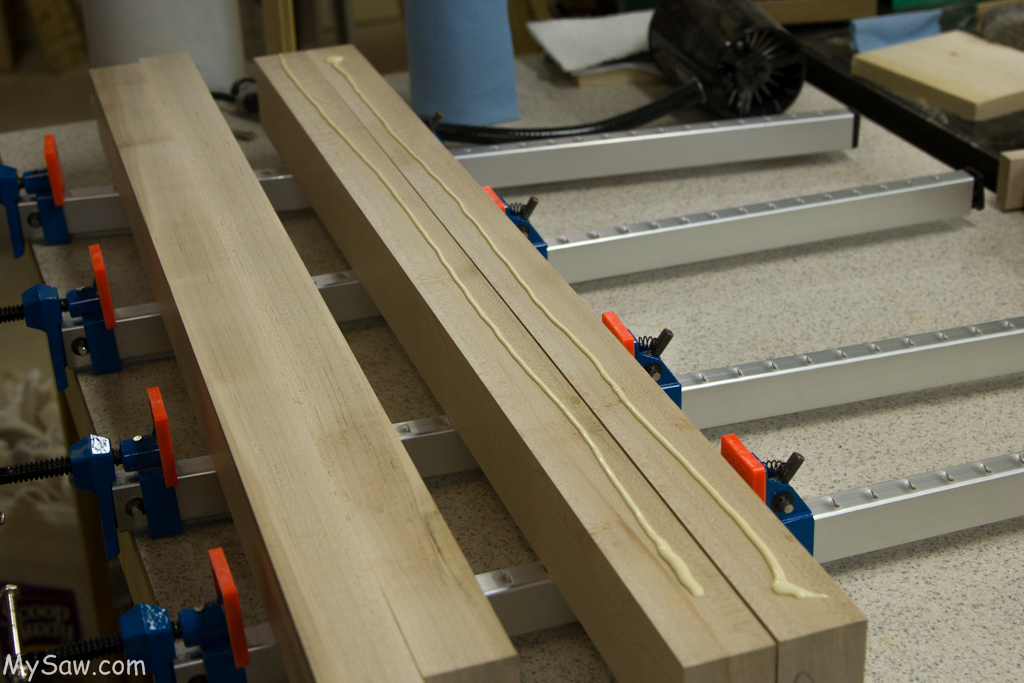
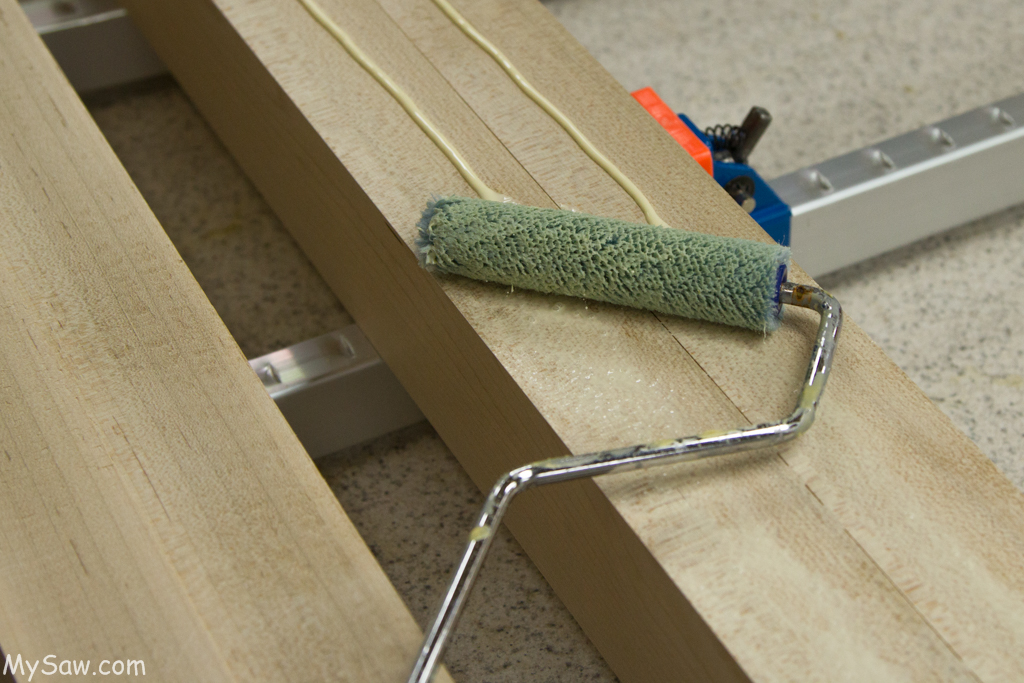
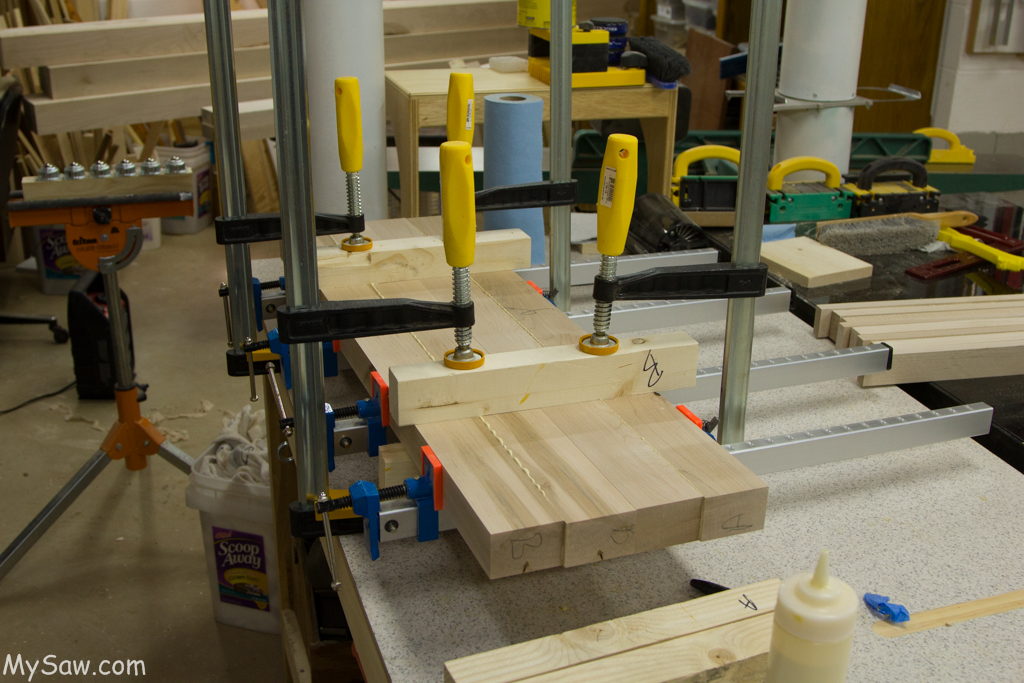
Quickly completed the leg section glue up. I am really liking my new glue up system. ( I have said this before). I have tried many glue up techniques, but this is the simplest and fastest. I end up with an appropriate glue spread and good squeeze out.

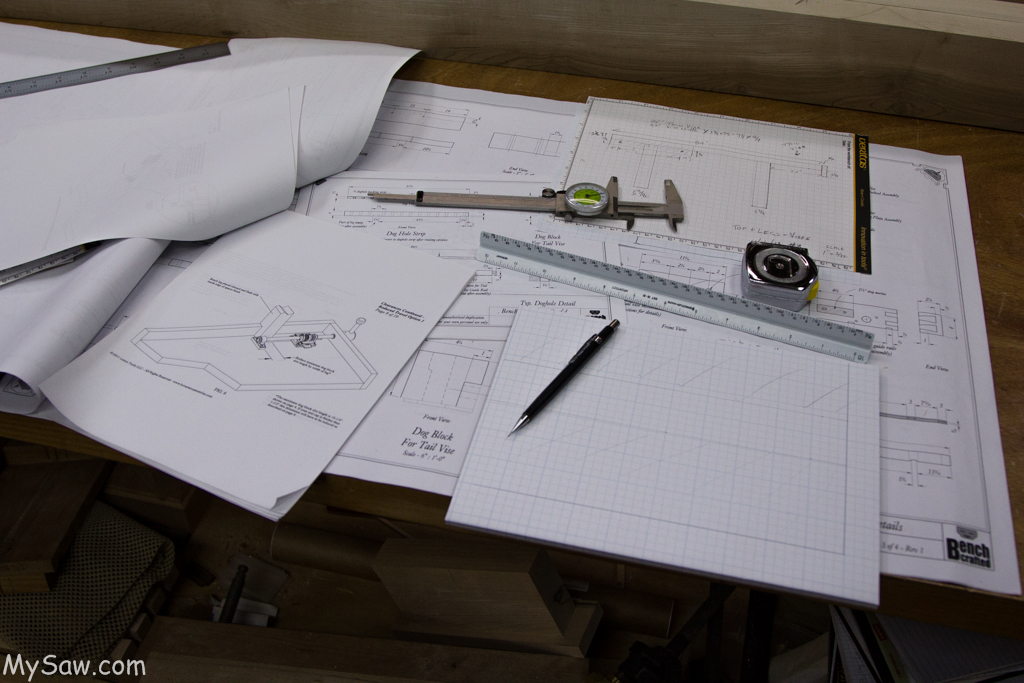
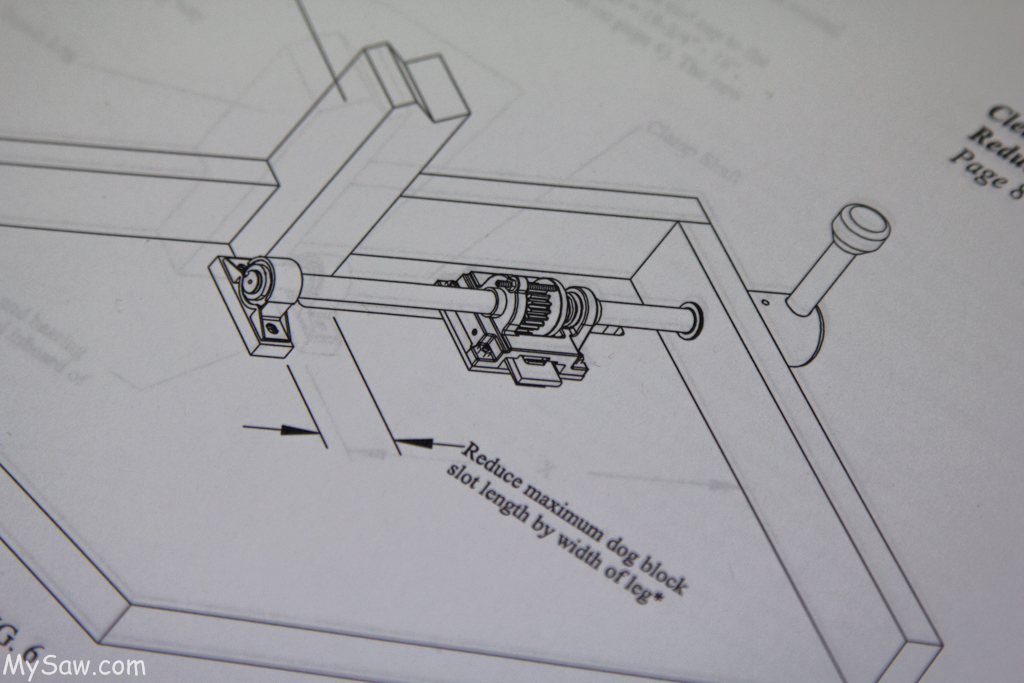
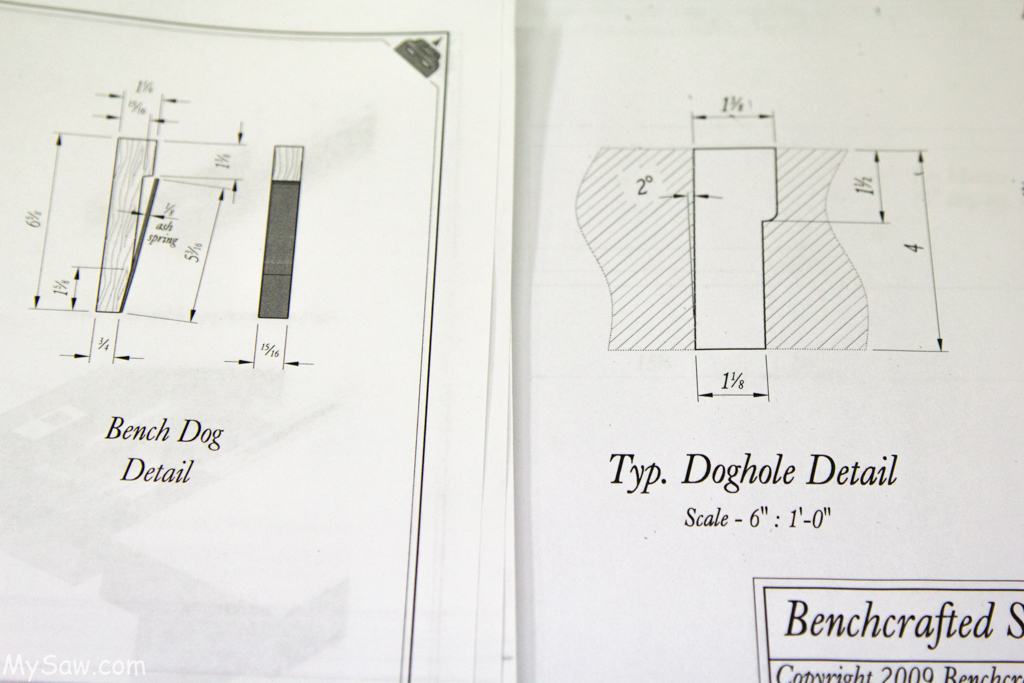
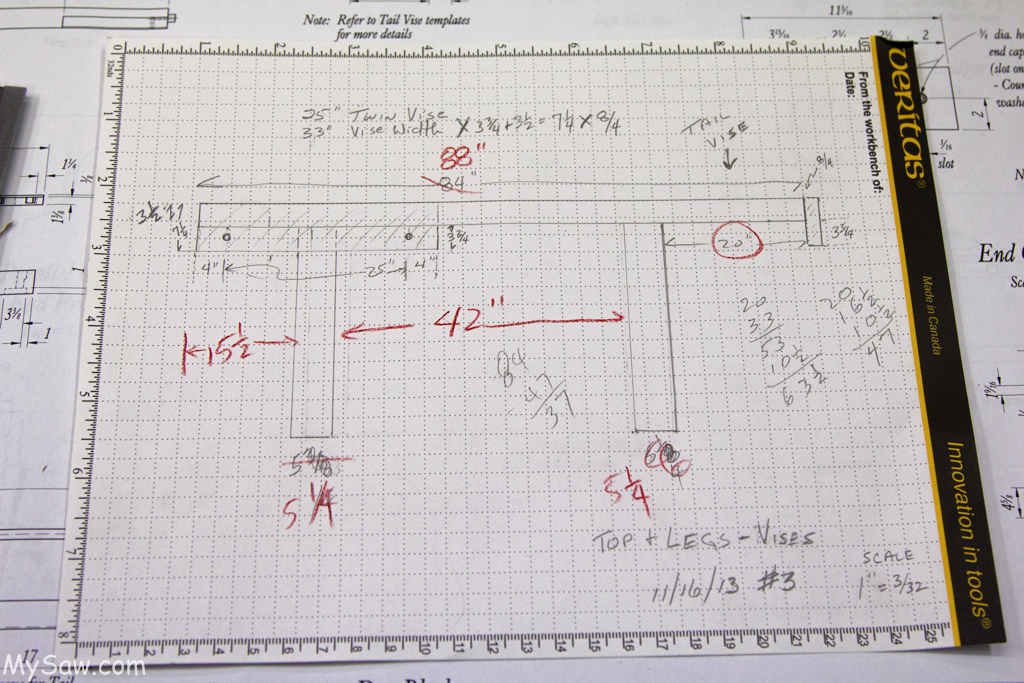
The next task was far more complex. As I have said I am using the Benchcrafted Split Top Roubo plan. But, I am not using their vise hardware. So the plan has to be adjusted for the Horvarter Twin vise and Tail Vise.
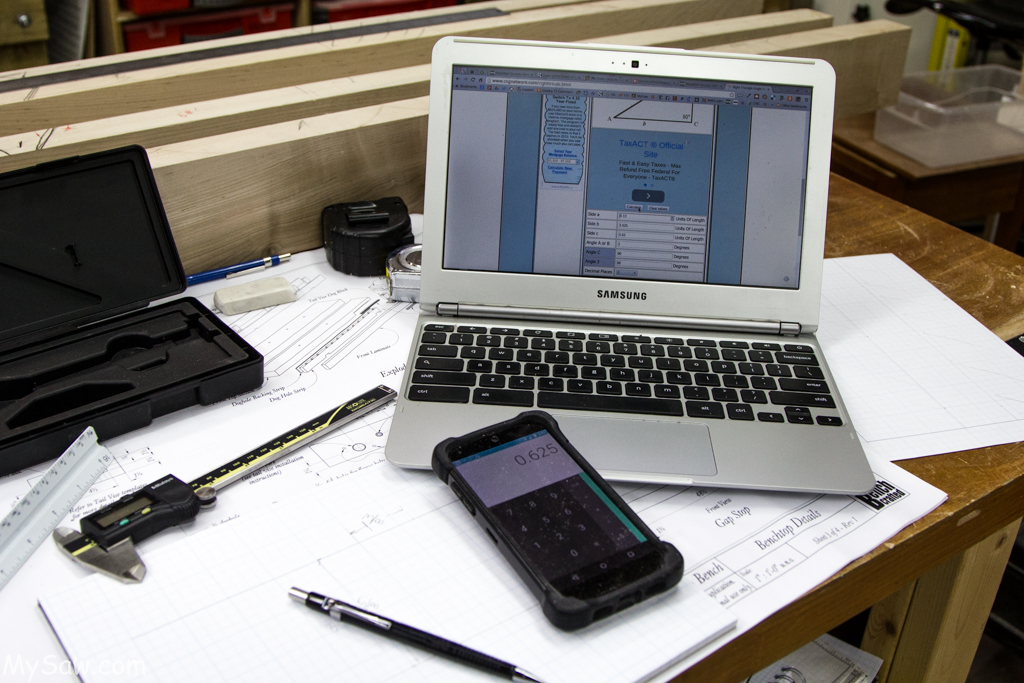
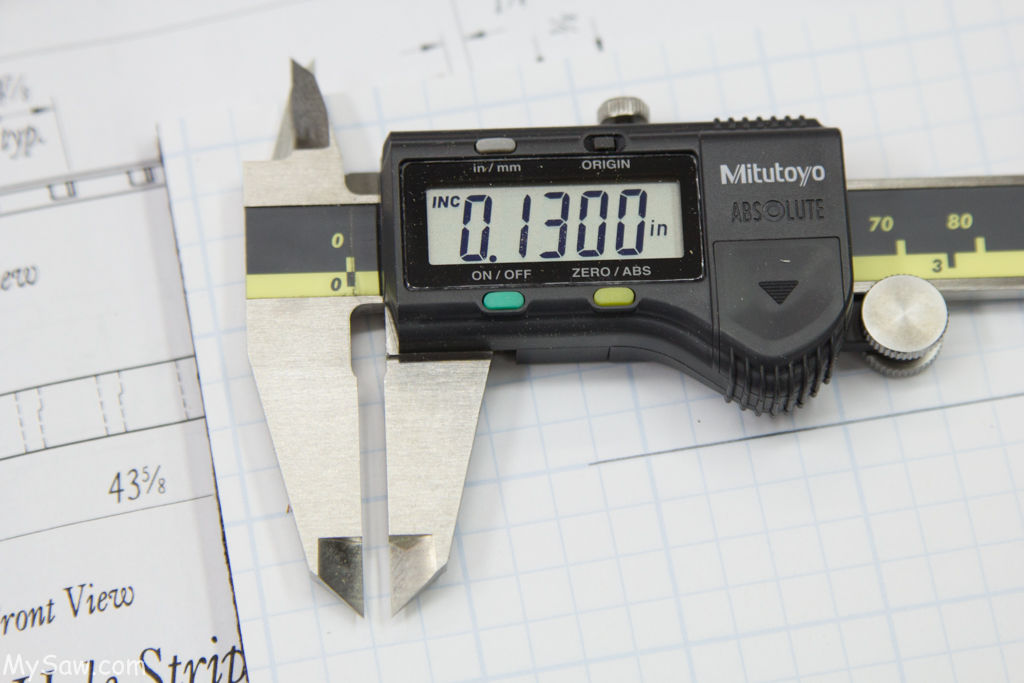
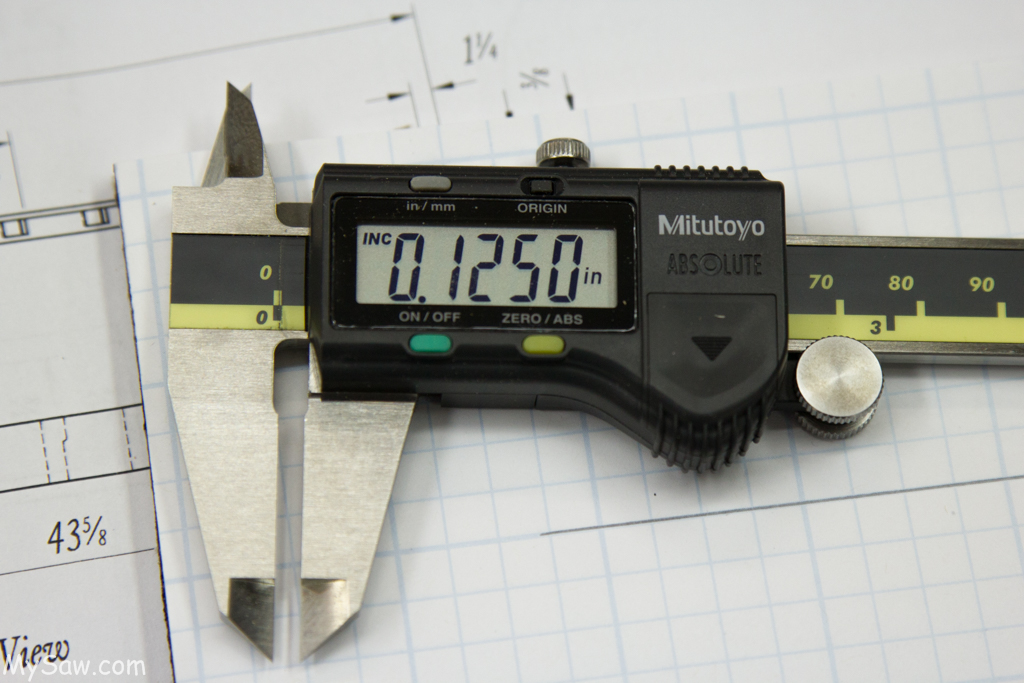
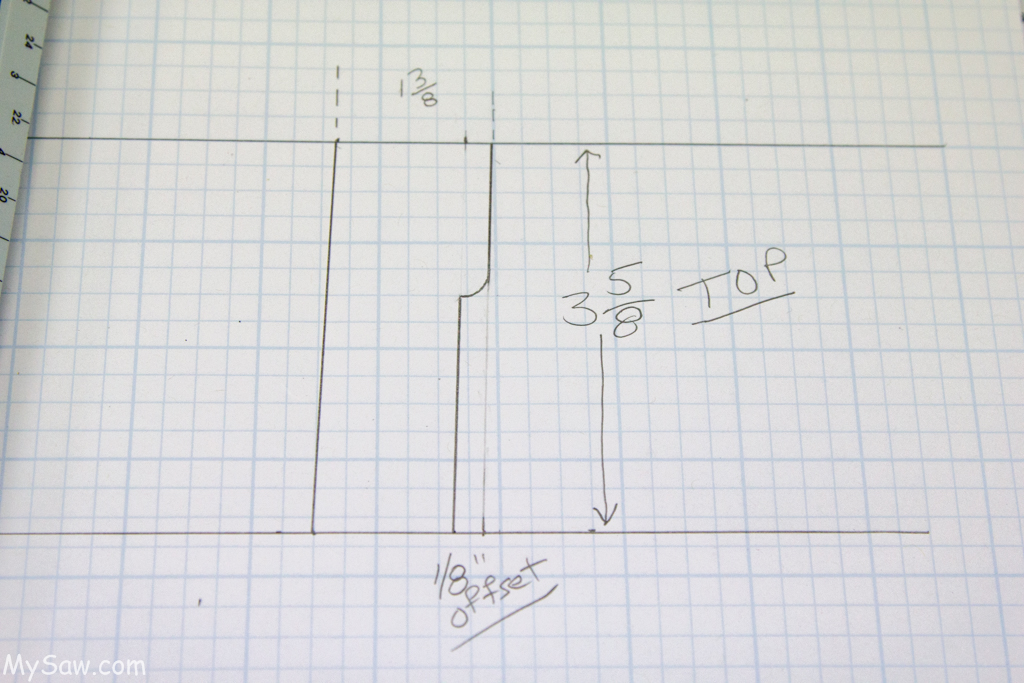
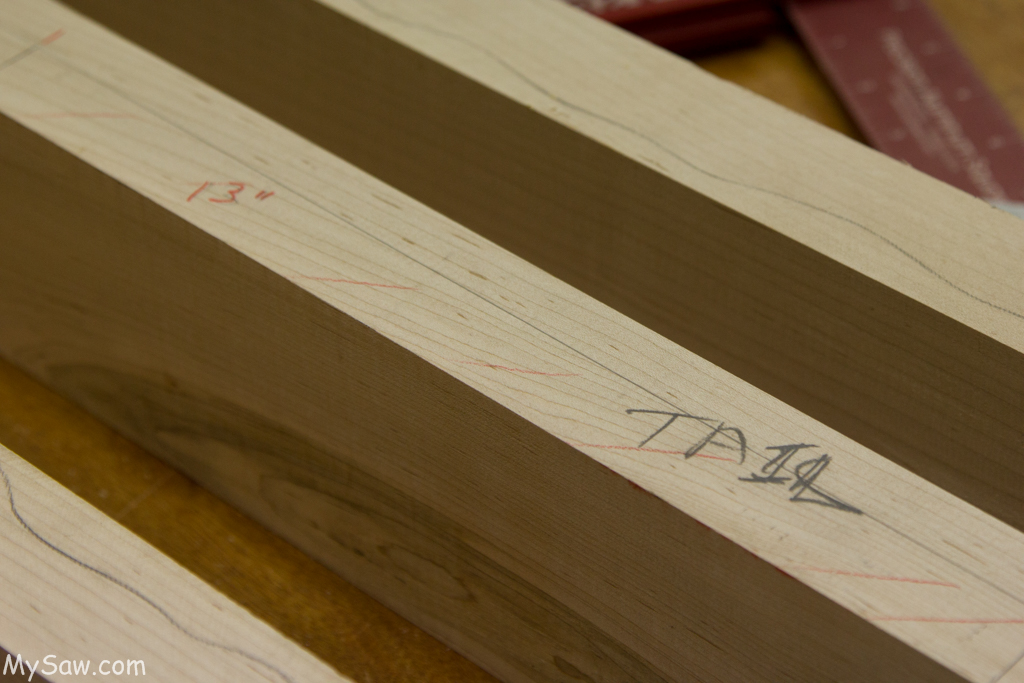
So I started with the dog hole design. I created a full size drawing. I used this web site for calculating the lengths for a right triangle with a 2 degree slant. http://www.csgnetwork.com/righttricalc.html The resulting side was .13 inches, which is really close to .125 inches or 1/8″. So I used 1/8″.


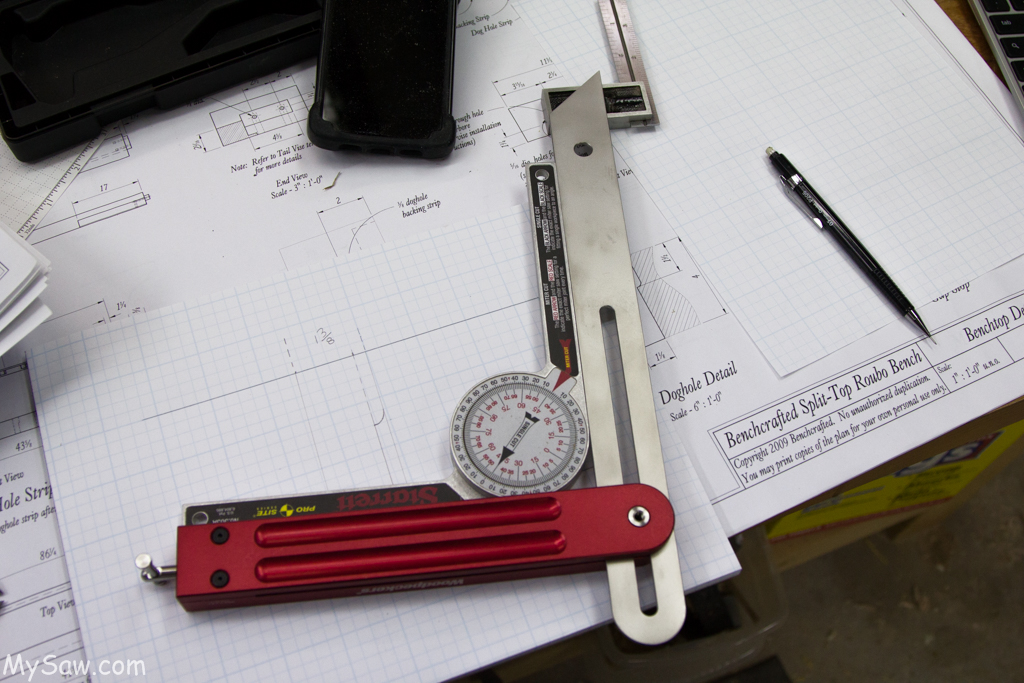
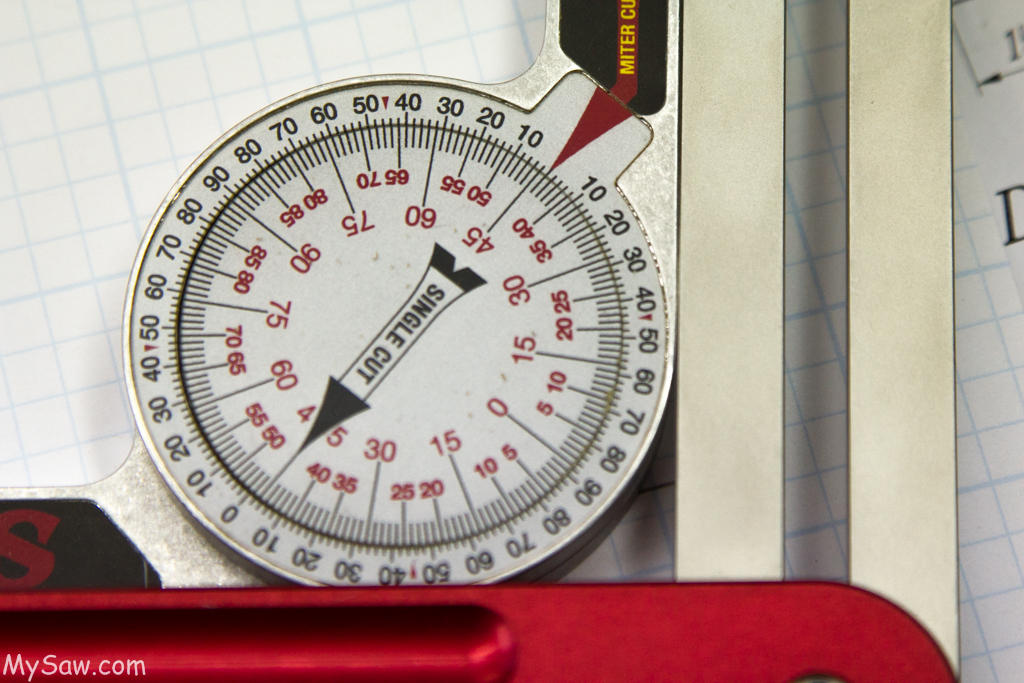
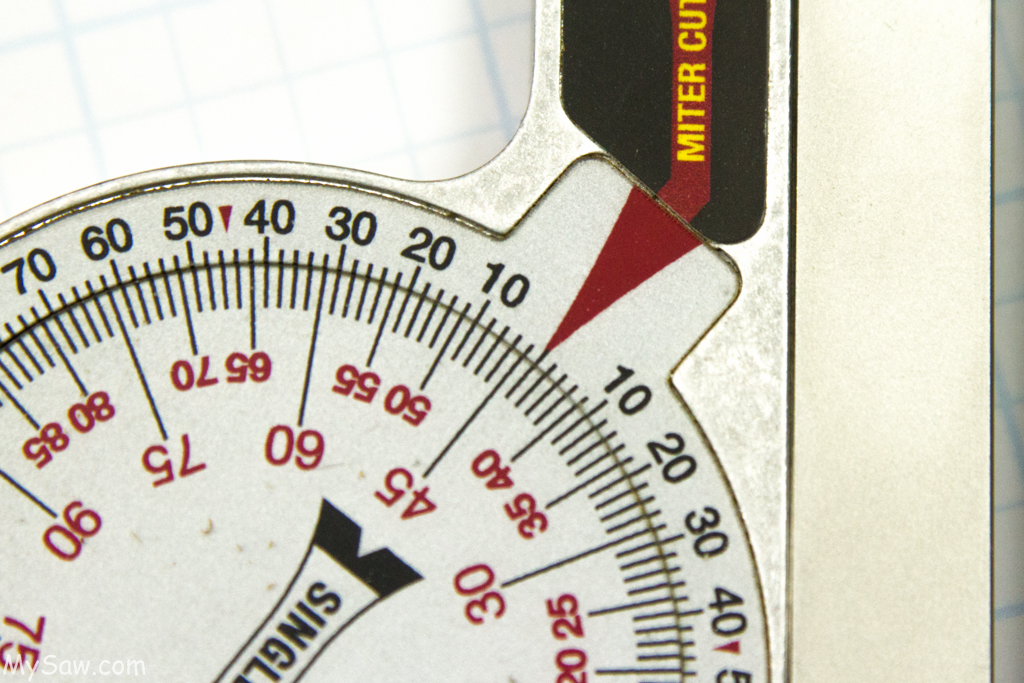
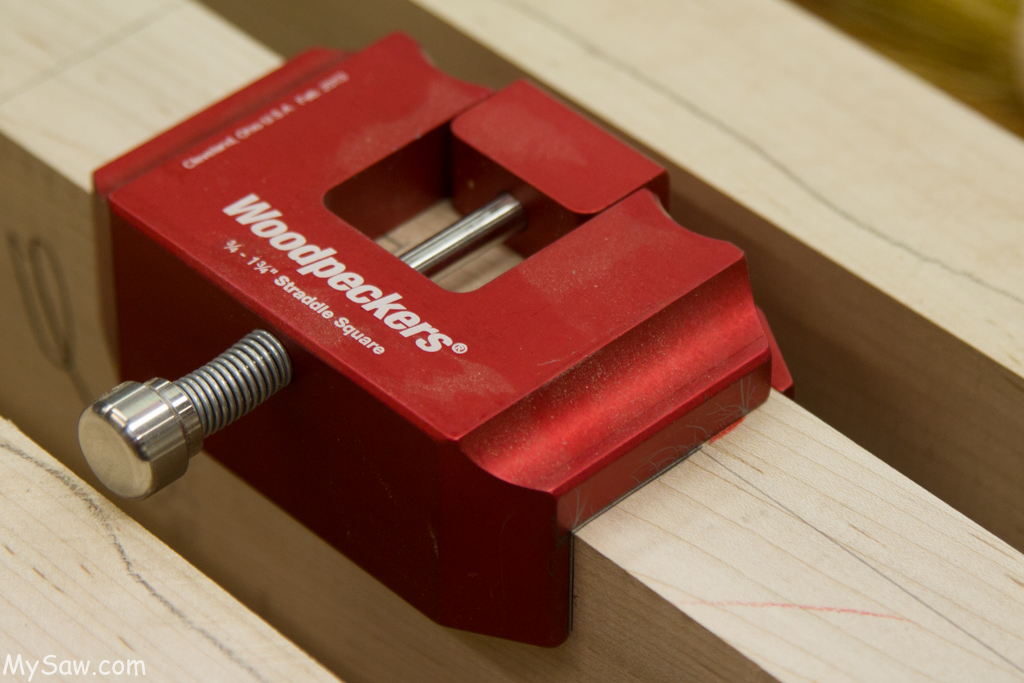
I then realized I could use my Starrett angle finder and set 2 degrees. It was then easy to set my angle marker based on that. So I am ready to build the jig from the Benchcrafted site. ( Pictures and video ) I also have a Veritas angle guage that would work.
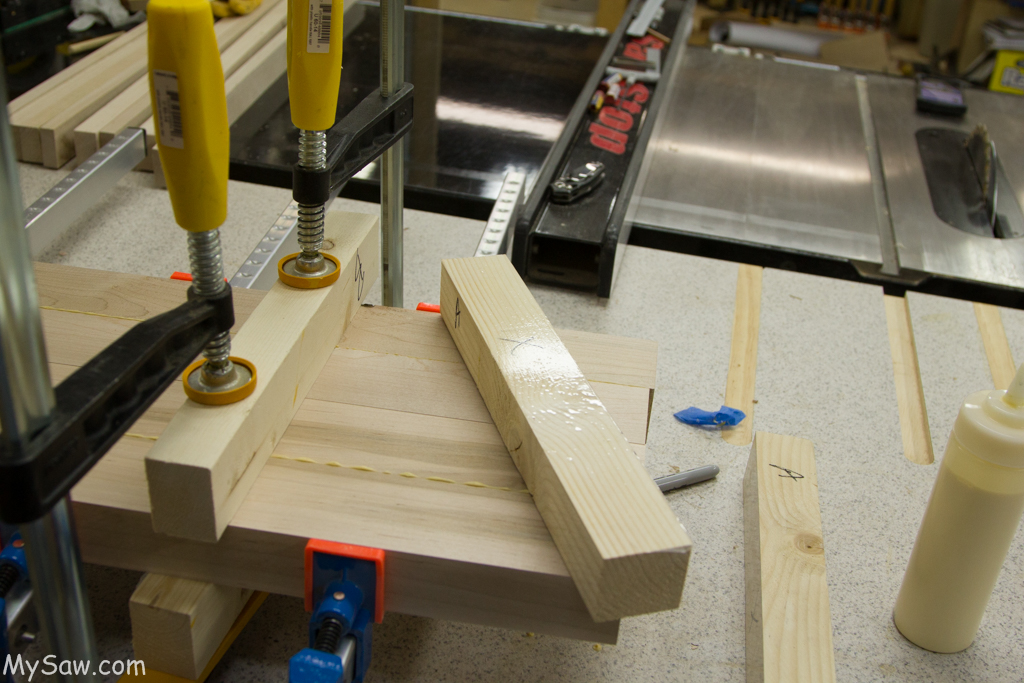
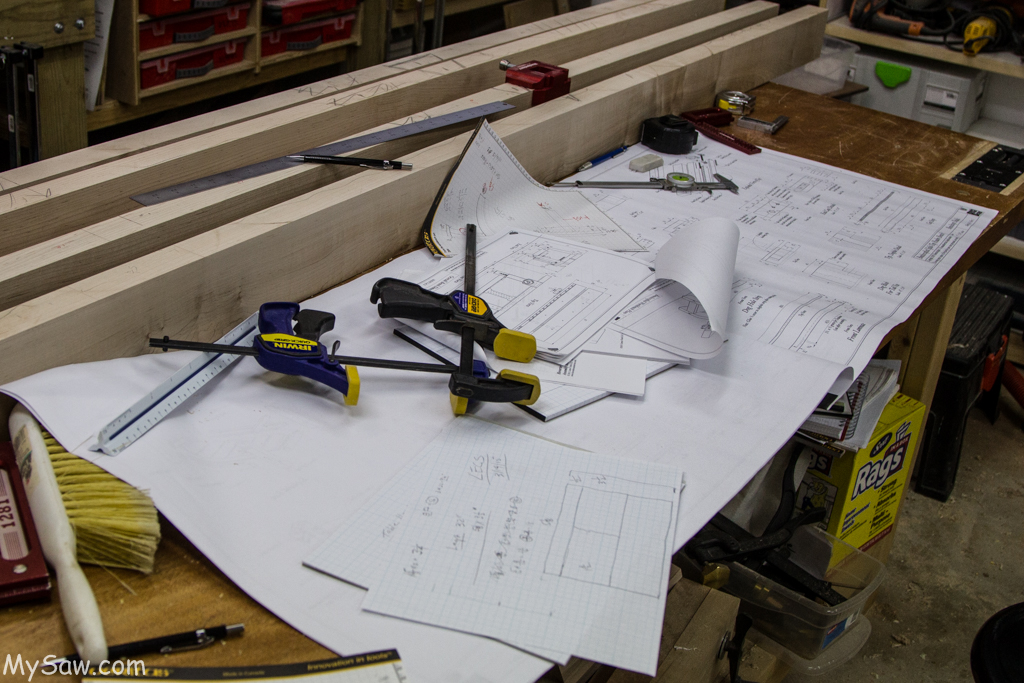
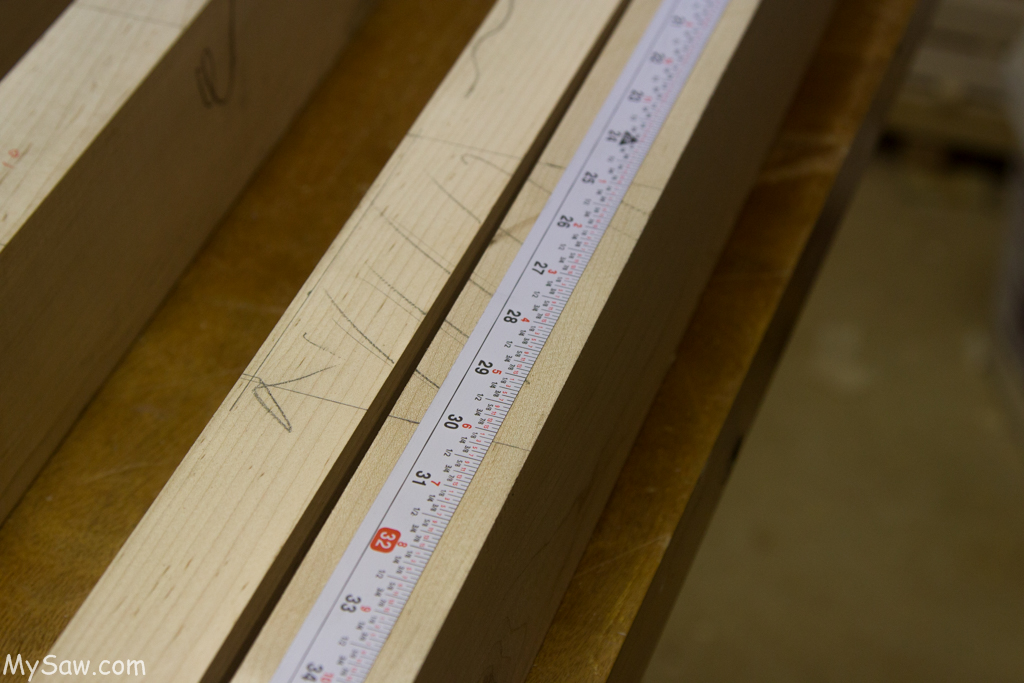
Next is where to place the dog holes. Well this just got crazy. I had the 4 boards on the workbench. So I used these for the full size layout plan. I always carry one of those big white erasers in my apron. I erased a LOT of lines before I got done. The bench got longer so it would be balanced. I am now at 90″ total. ( That’s 7 1/2 ft ! ).
The travel on tail vise will be 13″ The dog holes will be space 10″ or 9″. I had to vary the spacing on the last two due to the twin vise and leg placement. Which means I had to exactly place the legs.
You really have to look at some of the pictures to get a little bit of the craziness that I got into.
TO me this is FUN. I love thinking through problems. I am really starting to use FULL sized plans. In this case the full size was the actual boards which is fine. I was able to see the relationship of the leg placement to the ends of the bench was not going to look right at 84″. So I added another 4″ plus 2″ for the tail board.
At the end of the day, I am ready to build two jigs for routing the dog holes and tail vise slot.
On to day 8.
Bench Build Blog Index
Please enjoy the full set of day 7 pictures with detailed comments: