Objective for today is four square the workbench top. Really !!
This all started when I had completed the flattening of the bottom of the workbench and all the milling and mortise work on the legs. At that point I realized I could start positioning the legs and maybe connect the short rails into the legs.
This started a journey into really looking at the vises and milled legs etc. I found the top was not perfect four square. First the width of the top is off by about 1/16 from one end to the other. I started checking everything and found the face of the top was not square to the bottom. At this point I had not flattened the top, so I did not know the relationship from the top to the front face.
Two things. First I had to flattened the top and second the face had to be square to the top. I had also tried to fix the problem of the face not being square to the bottom. ( Video from Day 16 ). Also I needed to get the entire top as four square as possible.
I turned the top over so I could work on the top. Using my knowledge I had gained over many years of watching and flattening boards of various sizes, I went to work on the top. My plane choice is my LN #8. As I started I got some bad tear out on the end of the plane stroke. So I sharpened that blade and went back to work. After about 2-3 hours of many passes, I got to dead flat.
My approach was to work the entire top on each pass. I did not want to introduce problems with uneven plane work. Using a straight edge and the edge of my #8 was was able to see the high and low spots. I could see across the width, the outside 2-4″ were high. I carefully planed the length of the top to lower the sides. Then I started with passes directly across the width and some diagonal passes. The sharp plane was performing well. I used lots of wax on the bottom of the plane. Slowing I could hear the plane cutting the full width.
The key point is patience and perfection. Just go slow and let the wood tell you what to do.
Here is a short video somewhere in the middle of the process. You can hear what the wood is telling you. On each pass I was very aware of progressing each cut down the length of the top. This was taken in the middle of the work. At then end each pass across would produce and even shaving over the width.
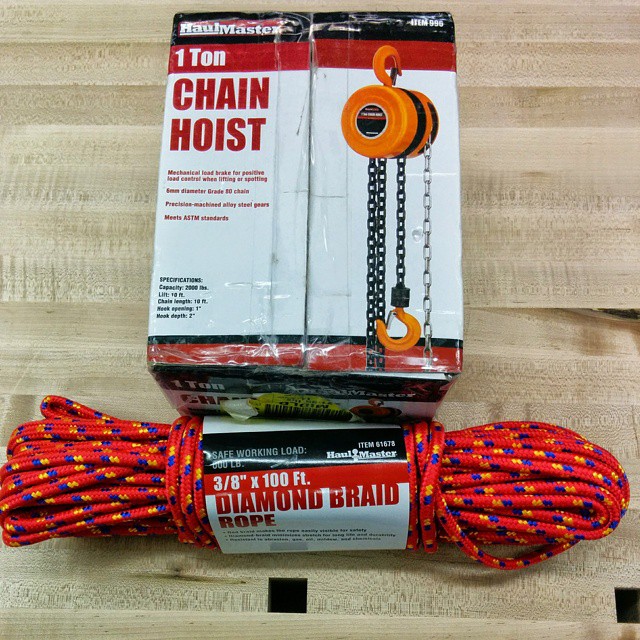
Once the top was flat I then worked on the front face being square to the top. I go some success with this, but really need to get the top on it’s side where I can successfully plane the face. I have purchased a chain host and some rope for this purpose. This will be used later.
So I decided to square off the ends of the bench. Using my large WoodPeck Square I was able to determine the front and back face are parallel. So I could set up a jig and square off the ends. This started with me using a new 2″ router bit and a brass pattern insert. You need to look at the pictures, but let me tell you… You really need to make sure the brass pattern insert is TIGHT ! It was not and made a very big mess.
Next try was to use my “skill” saw and a guide clamped to the top. This was far more successful. I am sure it will require some hand plane work, but will be the best I can do.
NOTE: Day 18 will be more squaring of the ends and starting on the short rail install.
Bench Build Blog Index
Please enjoy the full set of day 17 pictures with detailed comments: