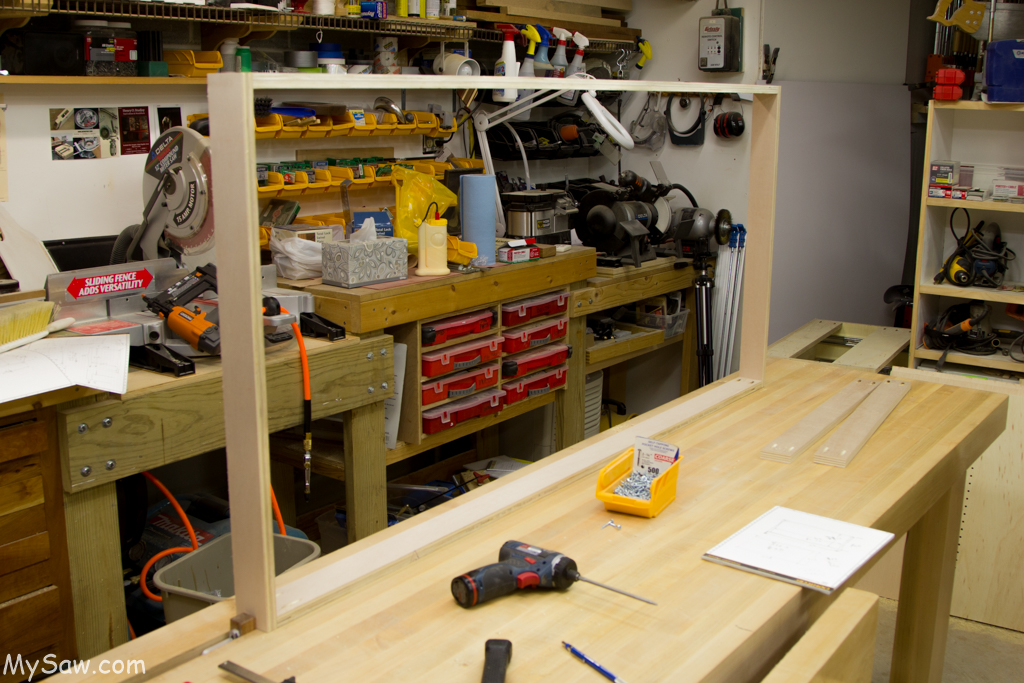
I have been looking at the area in my shop, I call the finish area. It has been a collector of junk at times. Recently I put a small folding table with a 30×60″ piece of plywood on top. I found this very useful for assembly, gluing and finishing. So I took the to the next step.
Over the years my out feed table has been used many times for finishing and glue-ups. I built the out feed table in about 2006. This was attached to my first saw, a Craftsman 10″ and then to the SawStop.
There are two significant features about the out feed table. First the construction was all pocket hole with plywood rails and shelves. Second the top is Formica. I LOVE this top. Paint, glue and everything else will scrape off.
And the last feature, it is very over used and usually has a small pile of stuff resting on the end, away from the saw output.
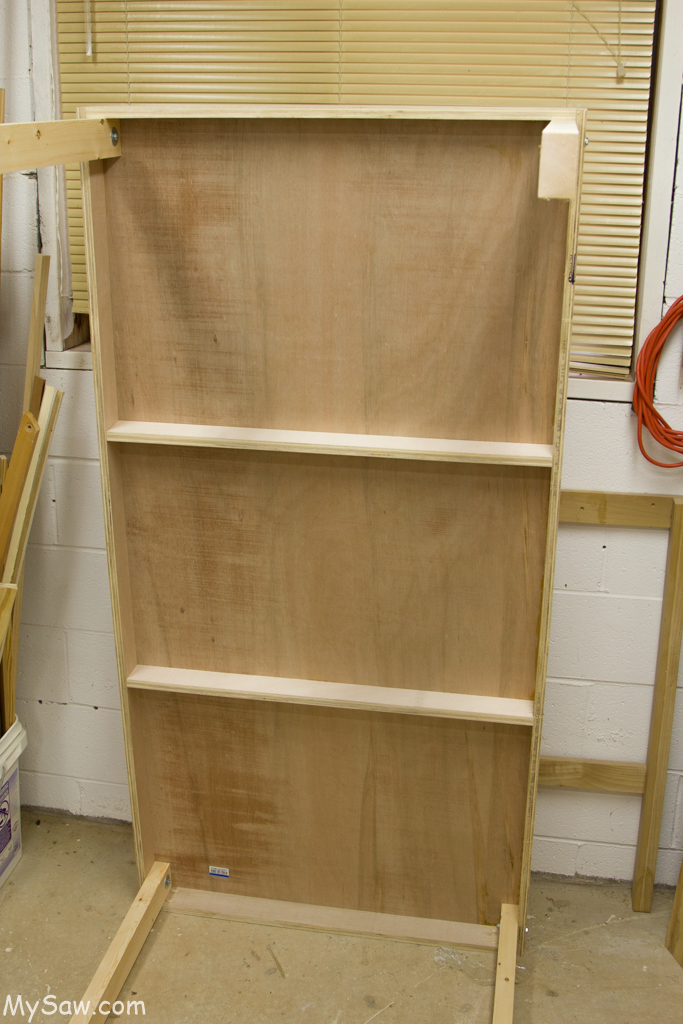
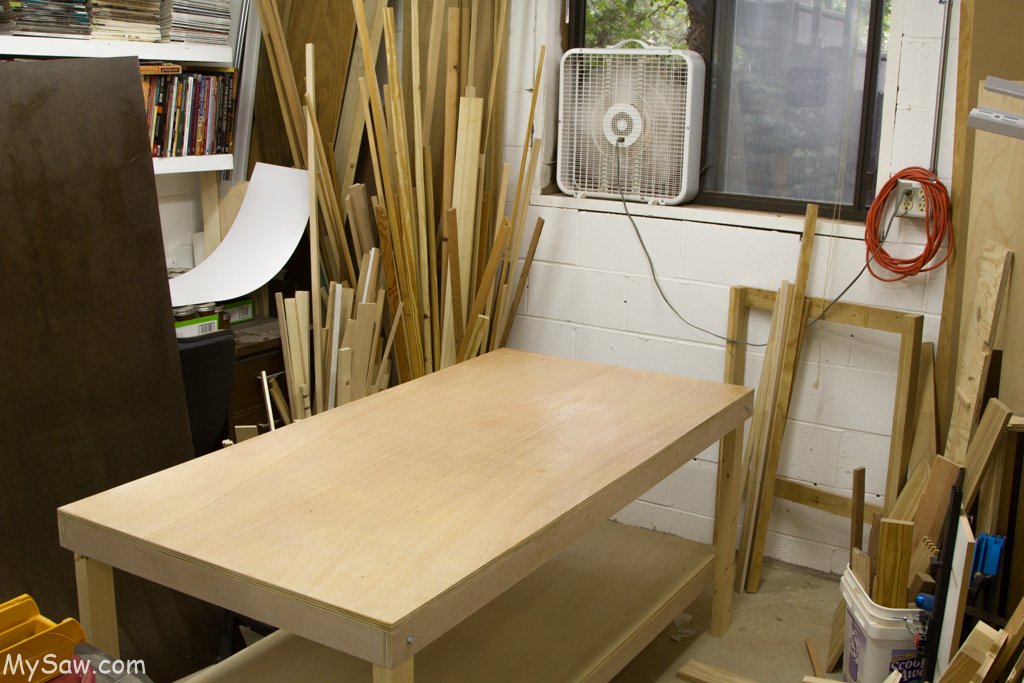
So with all this considered, I decided to put together a quick assembly, glue-up, and finishing table. I measured the space in the “Finishing Area” and decided that 33×66″ would fit well. I made the height 30″. My workbench and table saw are at 36″. The lower height really helps for assembly and finishing.
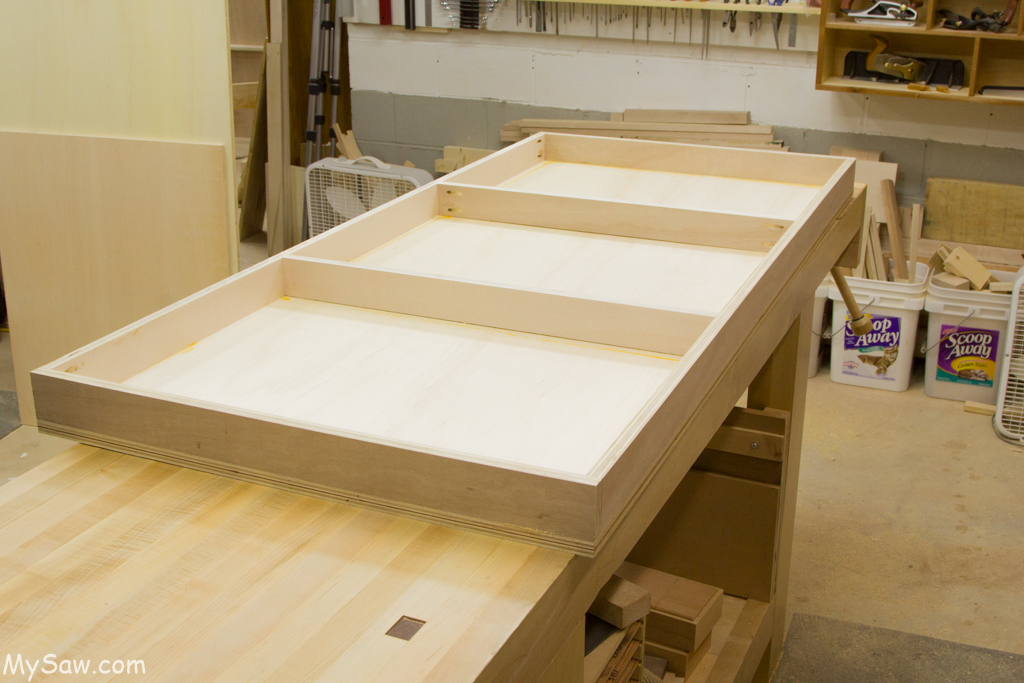
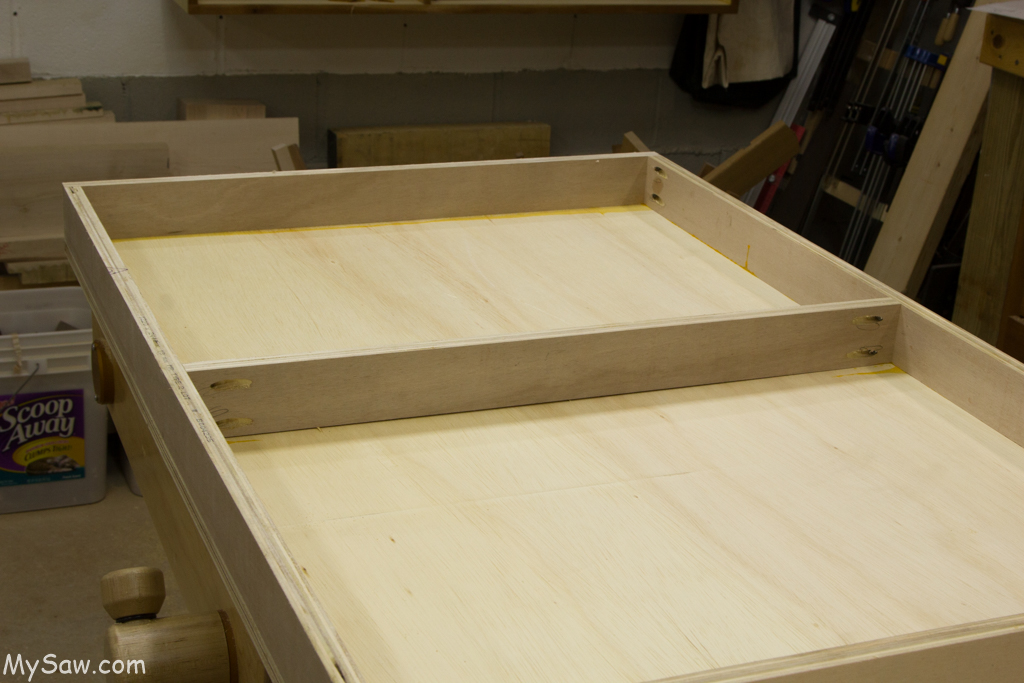
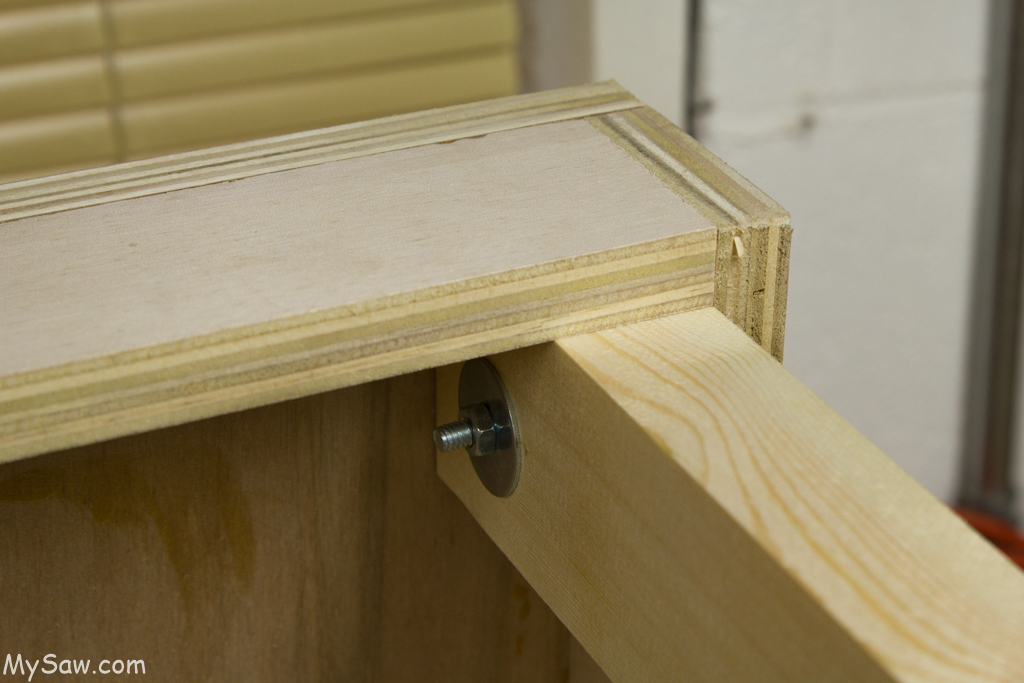
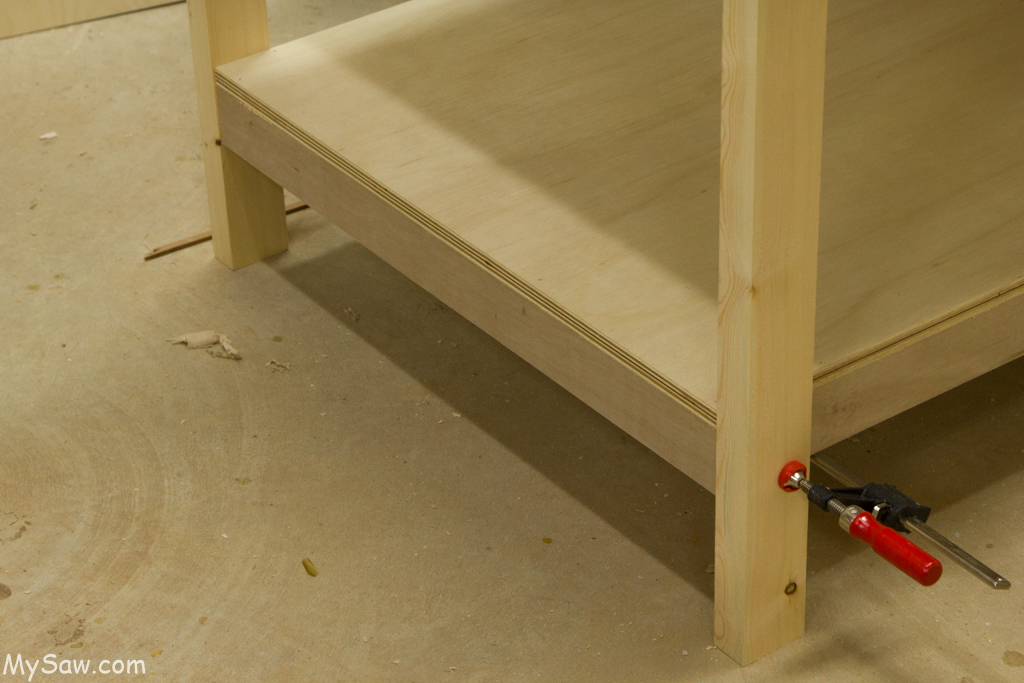
The construction is simple. Rails, joined by pocket hole butt joints for the top and the shelf. The legs are Home Depot 2×6″ framing lumber, jointed and cut in half. The top has white laminate, (Wilson Art brand).
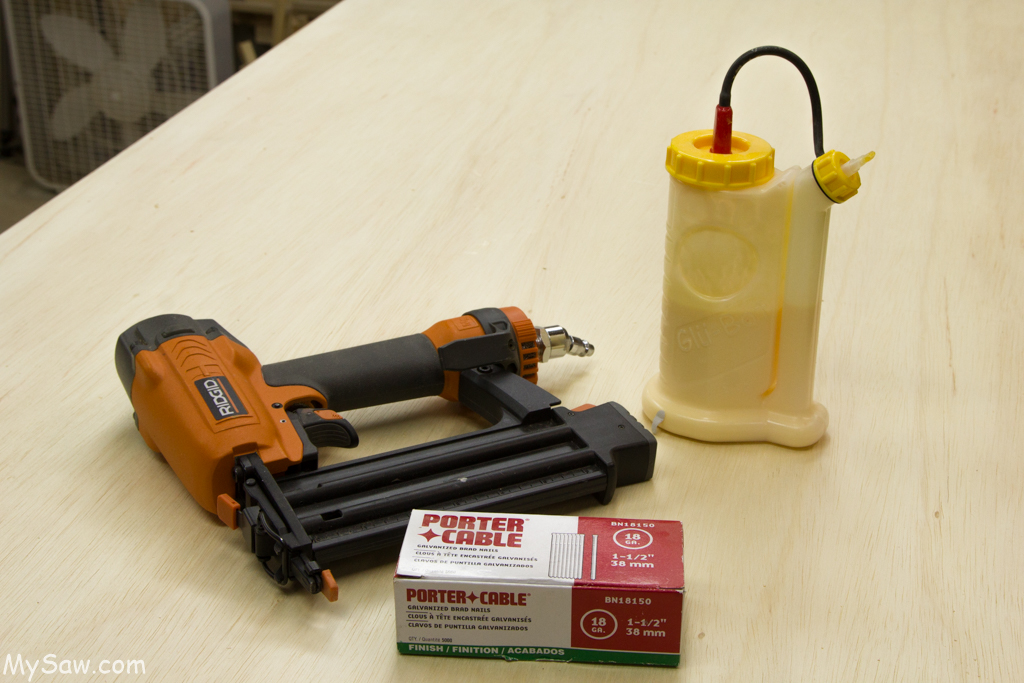
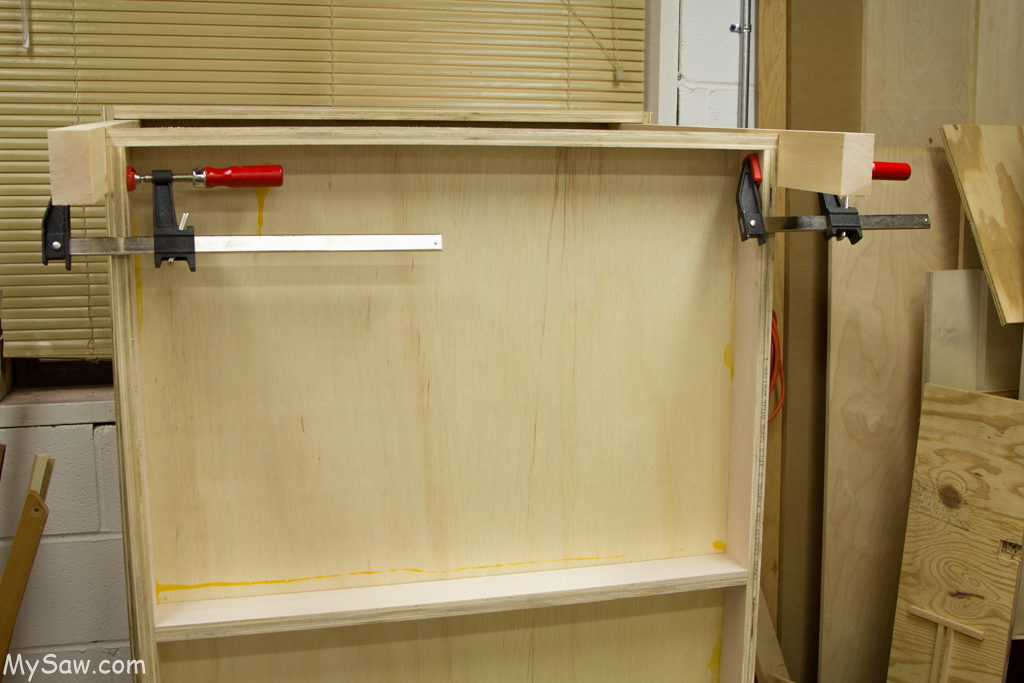
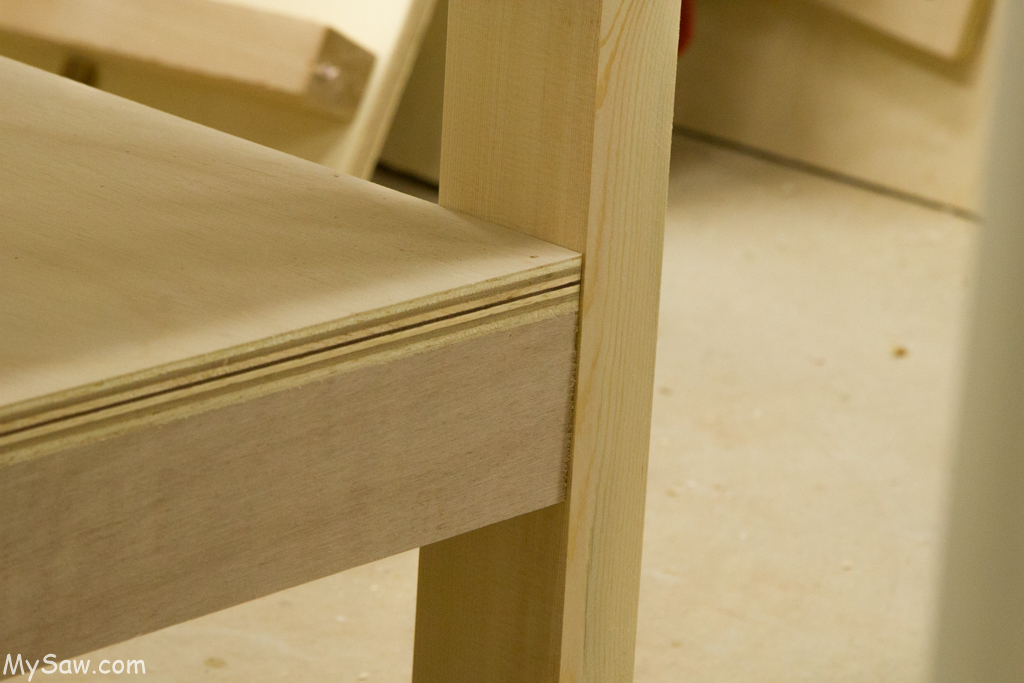
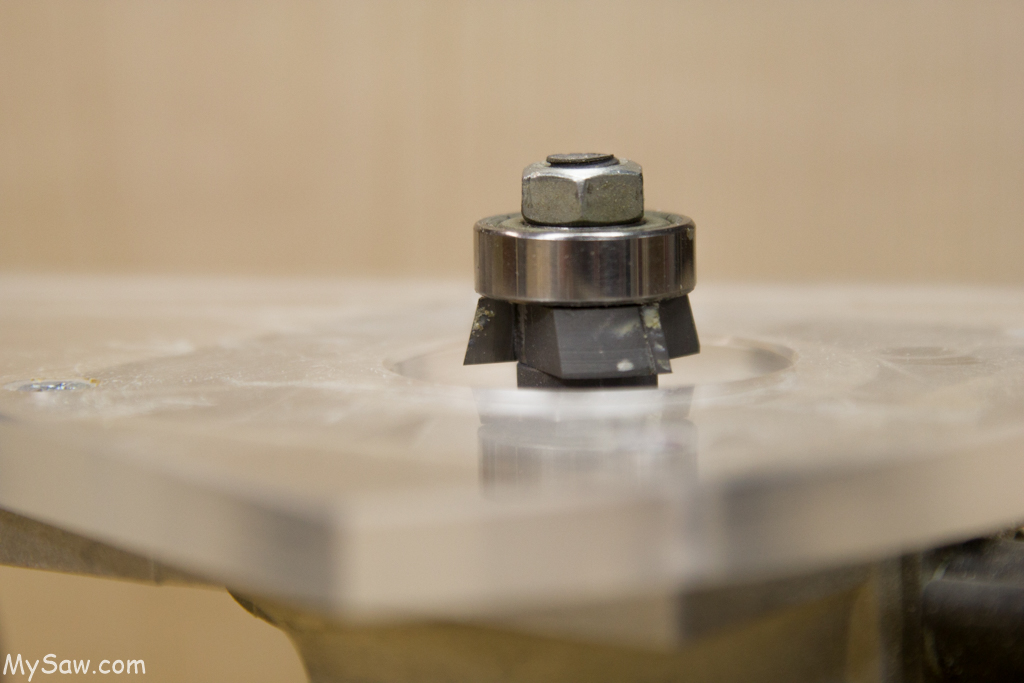
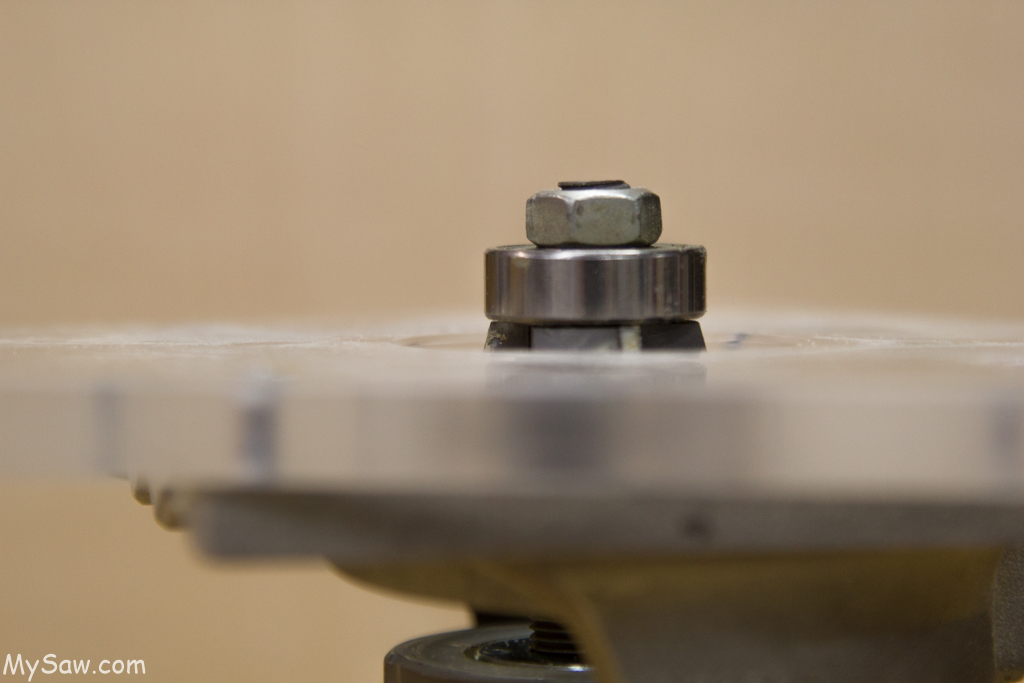
One of the “tricks” I use when making shelf like things, like the top, is cut the sheet goods about ¼” oversized. I build the frame, squar it and attach the top, with pocket holes from below, or with 18g 1 1/2″ brands and glue. I use my Whiteside Spiral Flush Trim bit and trim the top exactly the to sides of the frame. ( shown in video ).
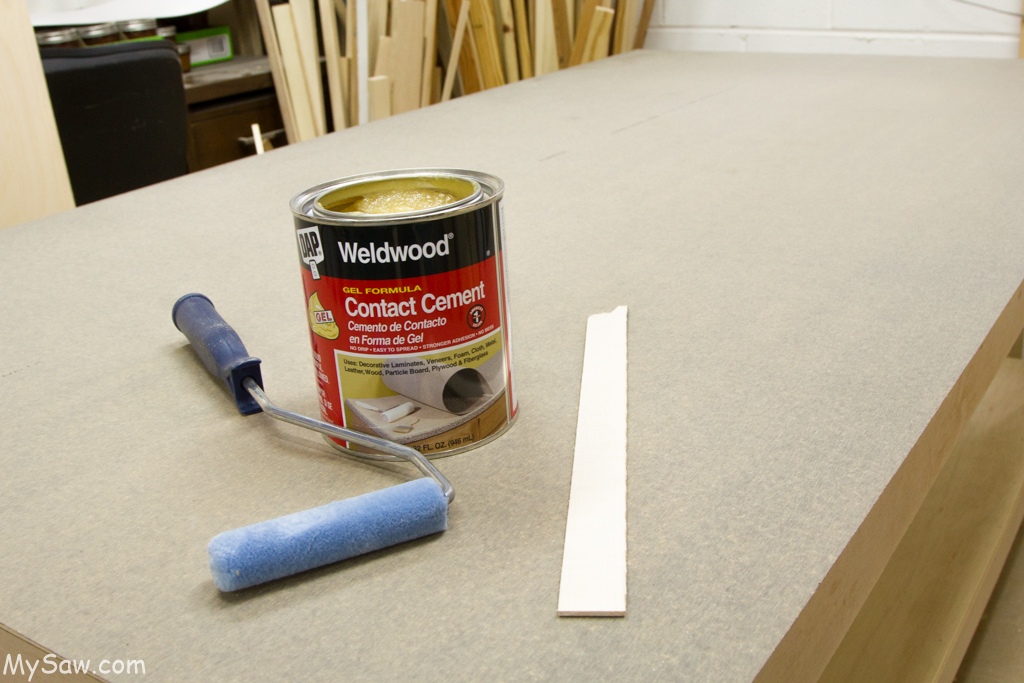
The real learning on this project came from the application of the laminate. Laminate is attached to a flat surface using “Contact Cement”. I chose to try “Gel” cement. I put this on too thick. The trick is to get a very good thin coat of cement on both the bottom of the laminate sheet and the top plywood layer. This is easier on the sheet, since it does not absorb the cement and is easier to spread. I used a 4″ very short nap roller, I am not sure this is the best way to do this.
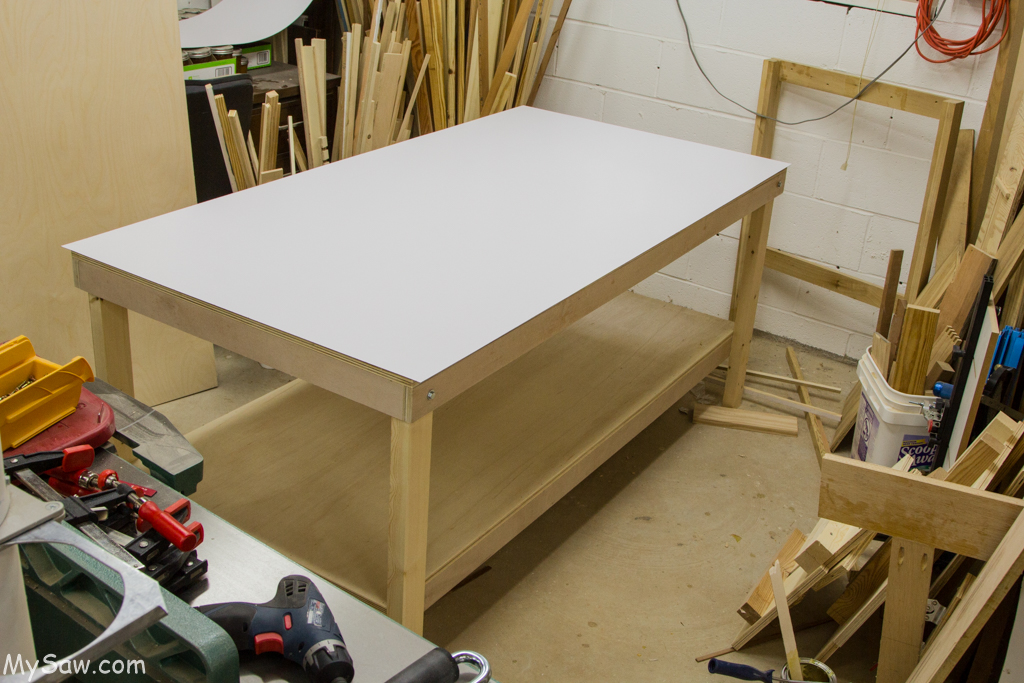
As you can see this area needs a lot of cleanup. The bottom shelf of this table will store jigs and table saw accessories.
The details of the build is in the commentary on each picture. Please enjoy.