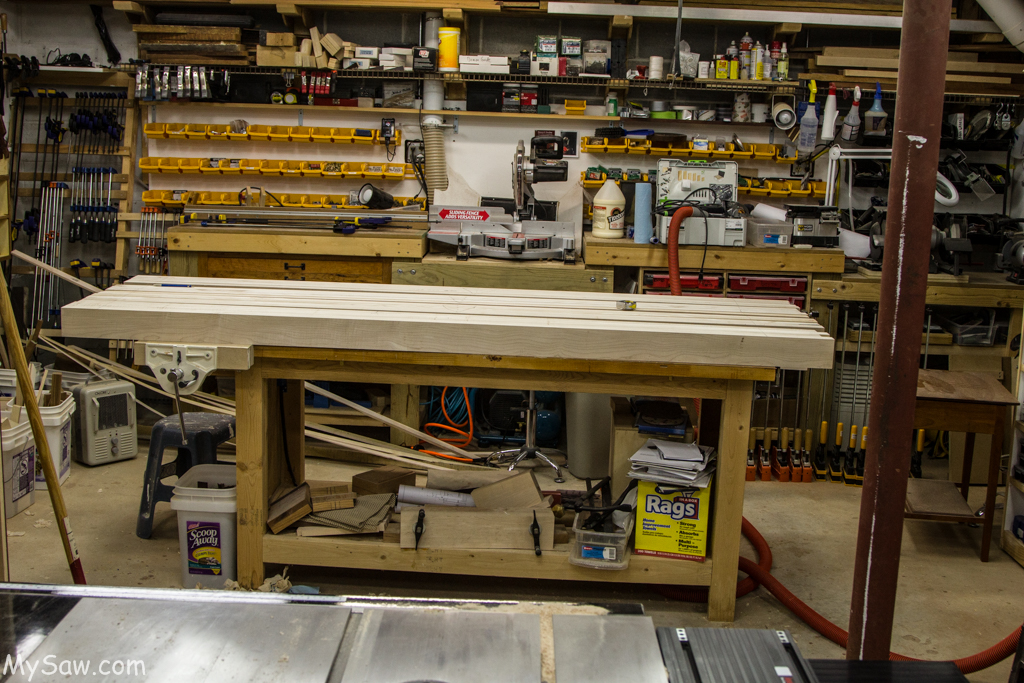
The goal for today is to complete the milling of all of the top boards. Also, I wanted to fix some problems with the jointing process.
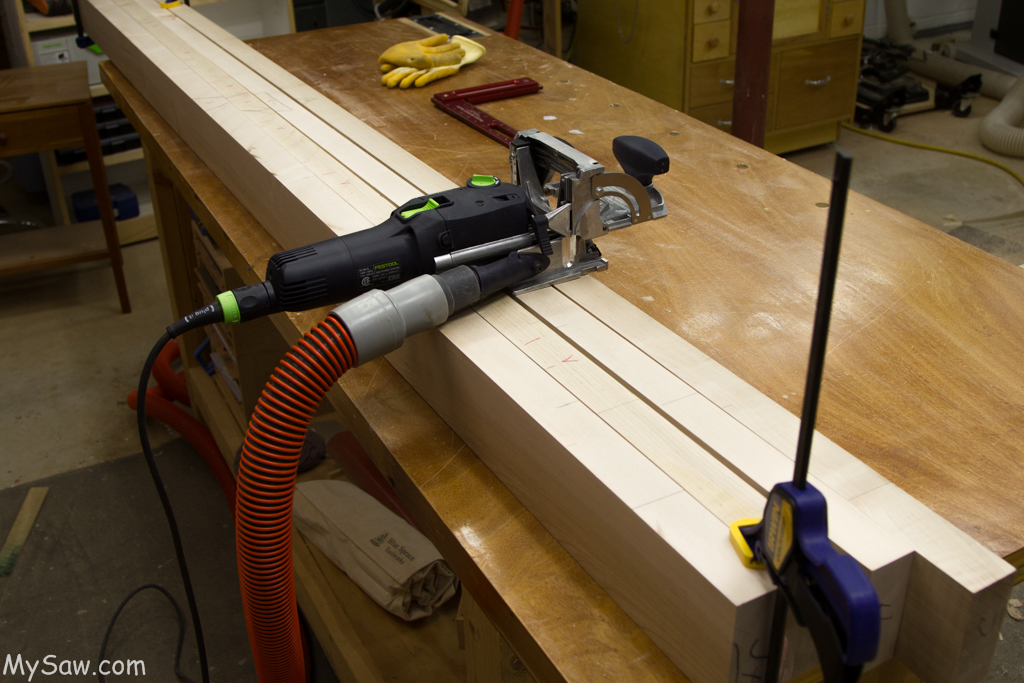
First, fixing the problems. I thought a lot about my milling processes and what could be causing the problems. Two possible problems came to mind. First it was hard to push the boards through the jointer, thus causing irregularities with the surface. Second, I am not sure I was taking a final very light cut on each of the boards as I completed them.
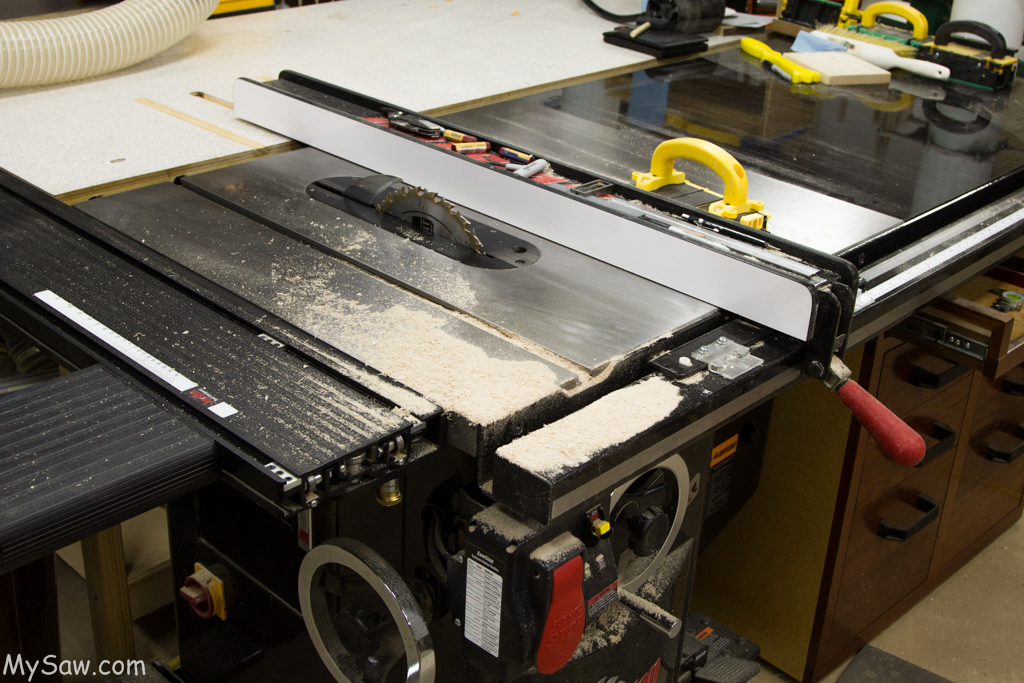
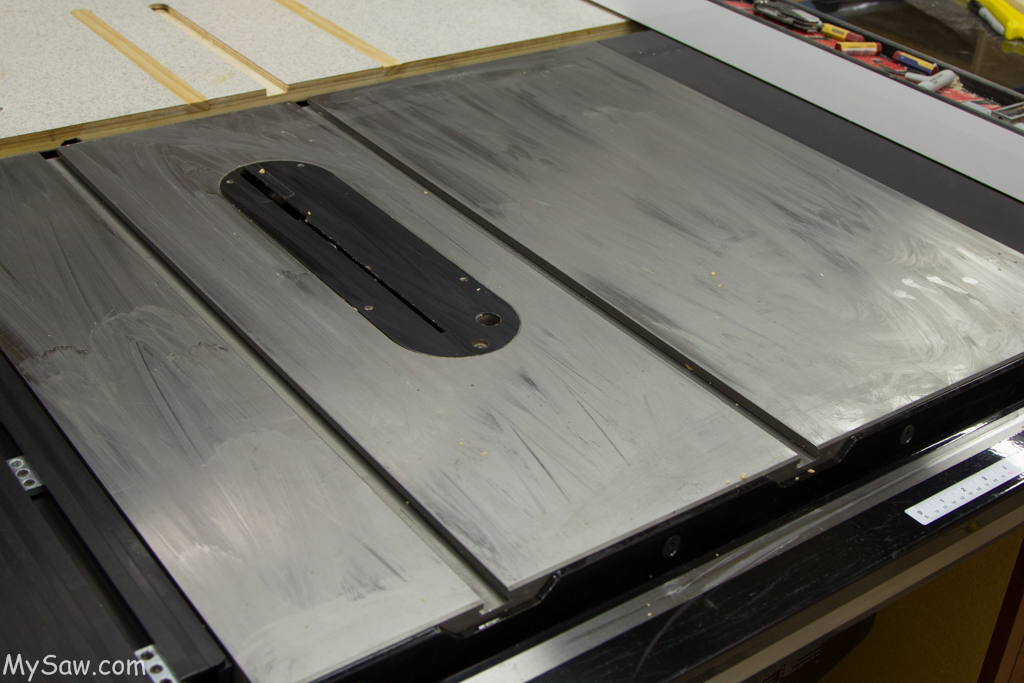
To solve the first problem I applied a coat of Johnson’s Paste Wax to the jointer surface. This is really very easy and quick. So I also treated the table saw top to the same wax.
Second, I just made sure the last pass on each board was a very light cut.
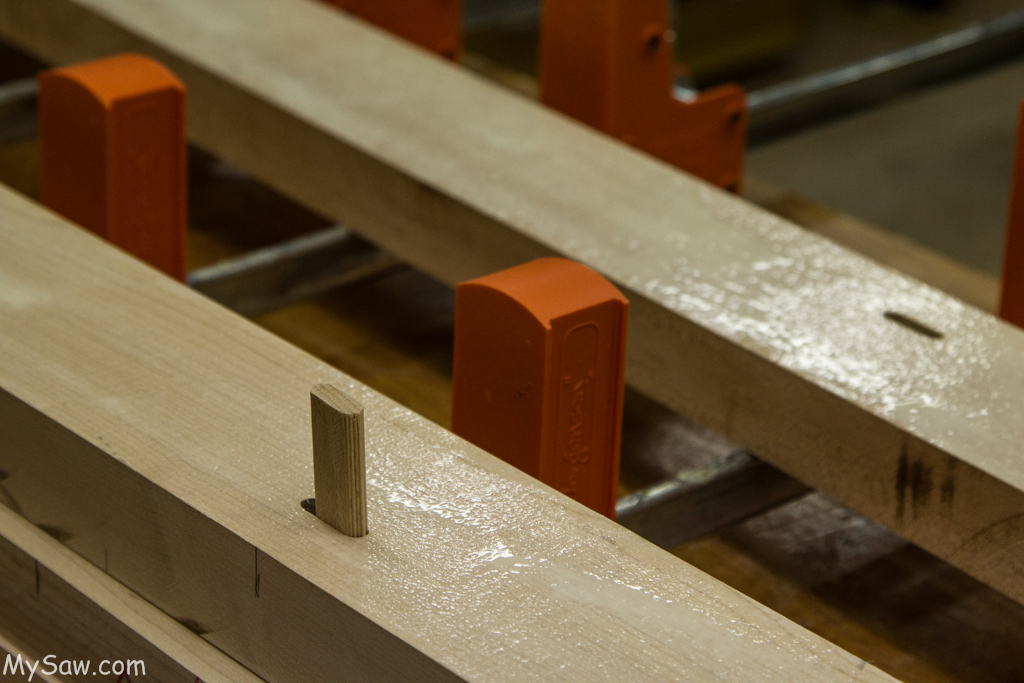
These two changes in my process yeilded much better and consistent surfaces. When I tested the mating of the newly milled boards ( and the two offenders from Day 4 ) I found I had much better results.
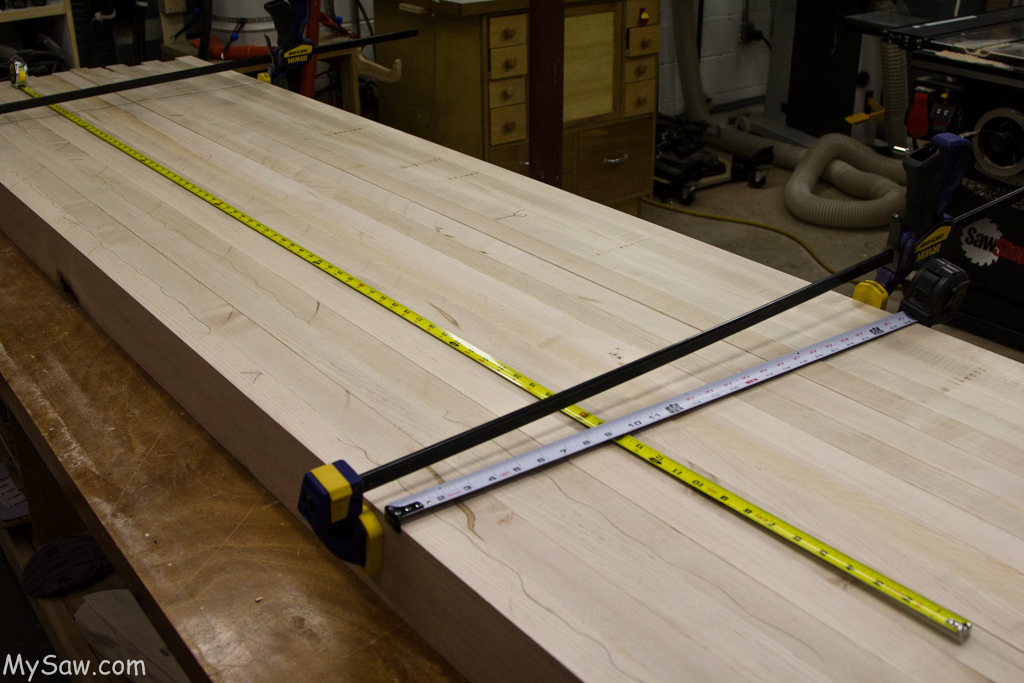
So all of the boards were completed. I laid out the 13 new boards, with the first section piece on my existing workbench. WOW… This is a big top! I thought that I wanted at least a 28″ top, since my existing workbench ( of 9 years ) was 30″. After looking at the new top at 28″ it was just too big. So I removed one board and the bench is now at 26 1/4″. I like that.
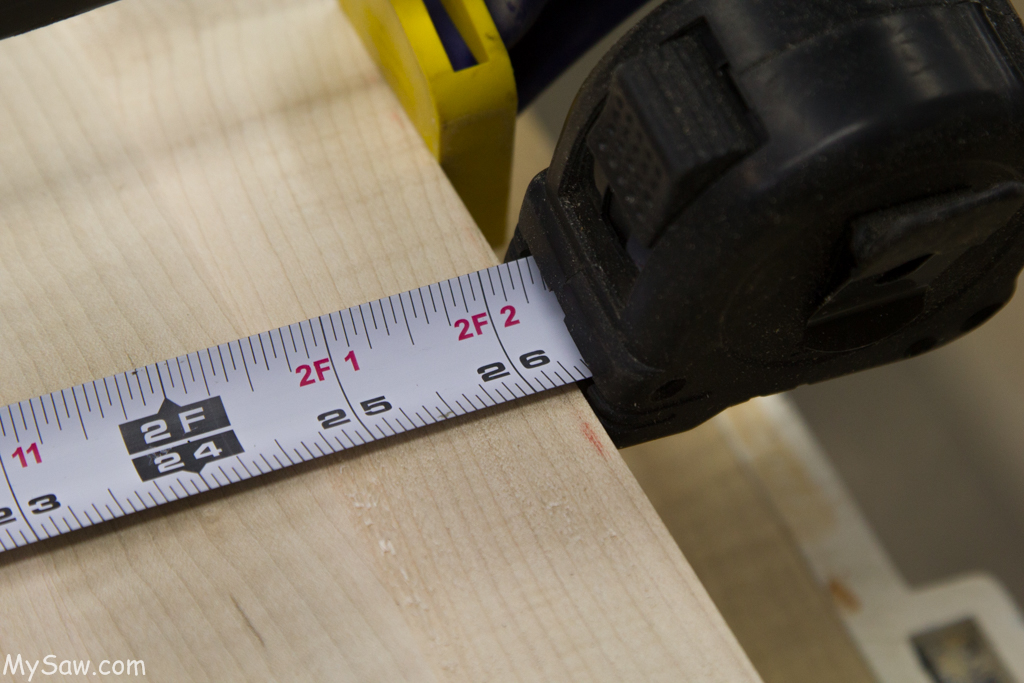
I then started looking at the length. I had thought I would cut the top at 88″ which would have been 90″ with the end cap. WOW… that was just too long for the space. I have now decided to cut the top at 84″ plus the 2″ cap will be 86″ or just over 7 ft. long. That feels good looking at the top in the space where it will live ( forever ).
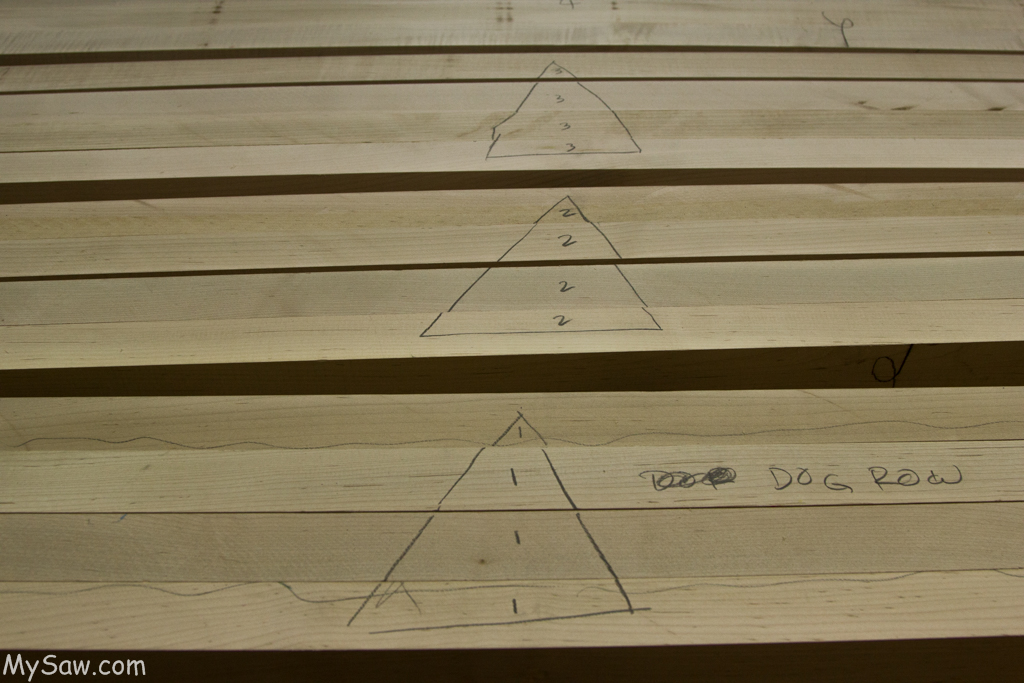
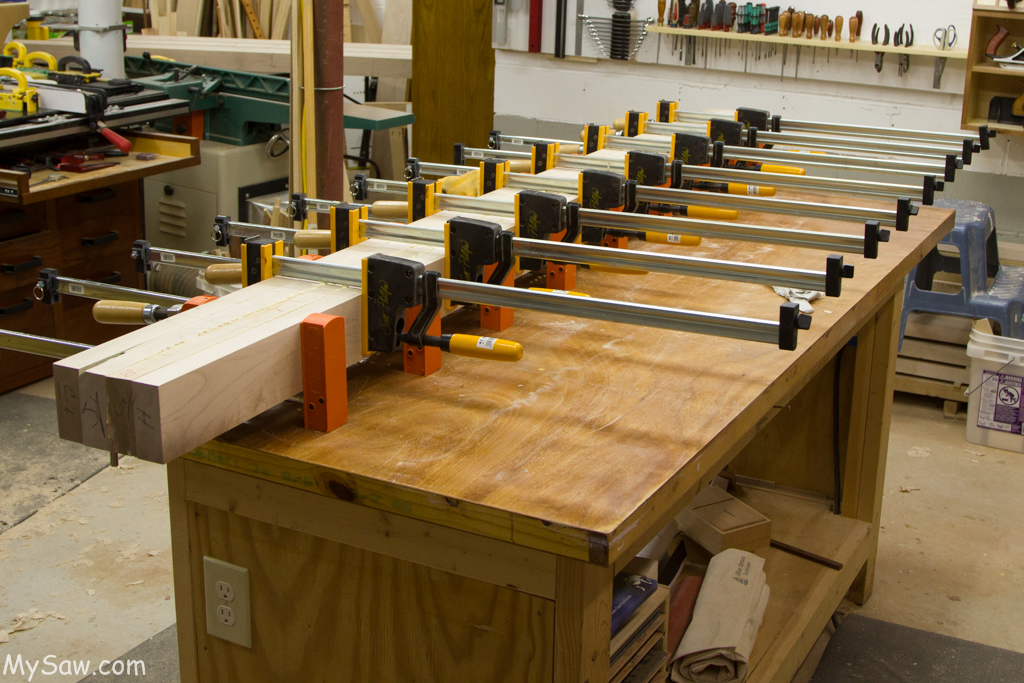
I also put my cabinet makers marks on the 3 new sections. I was tired and really wanted quit, but I really wanted to do a glue up. The experience I gained with the first section was excellent and made easy work of this section.
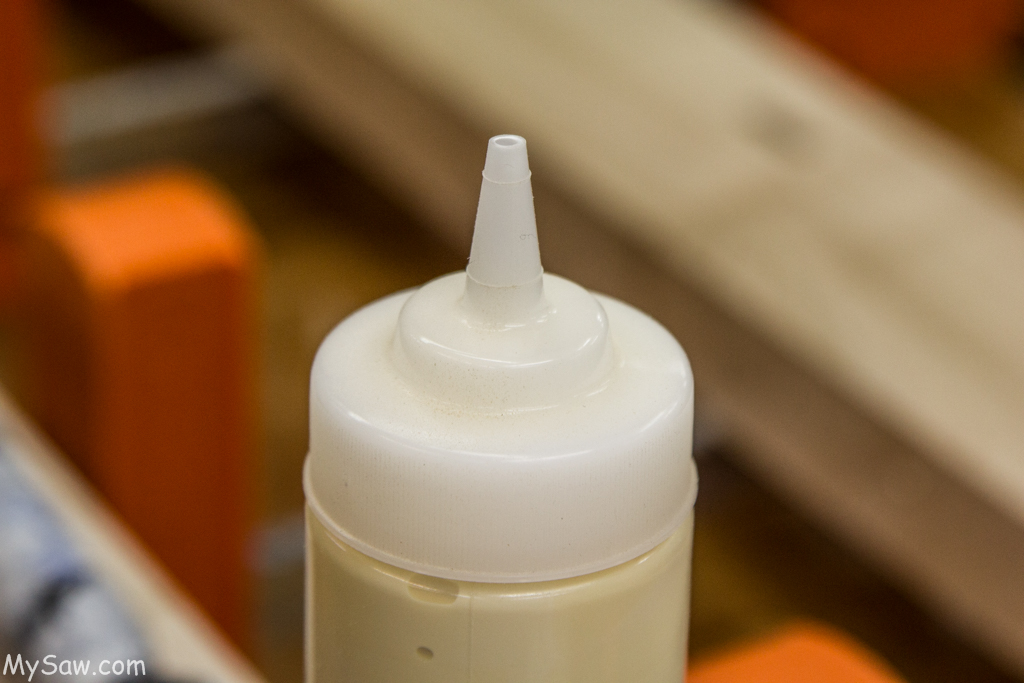
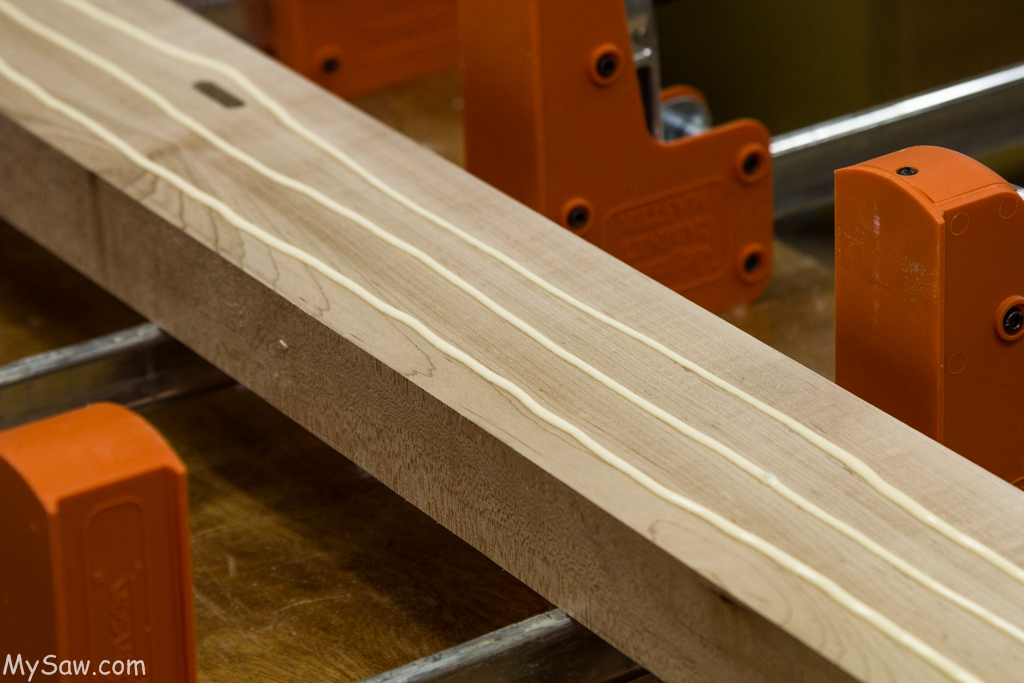
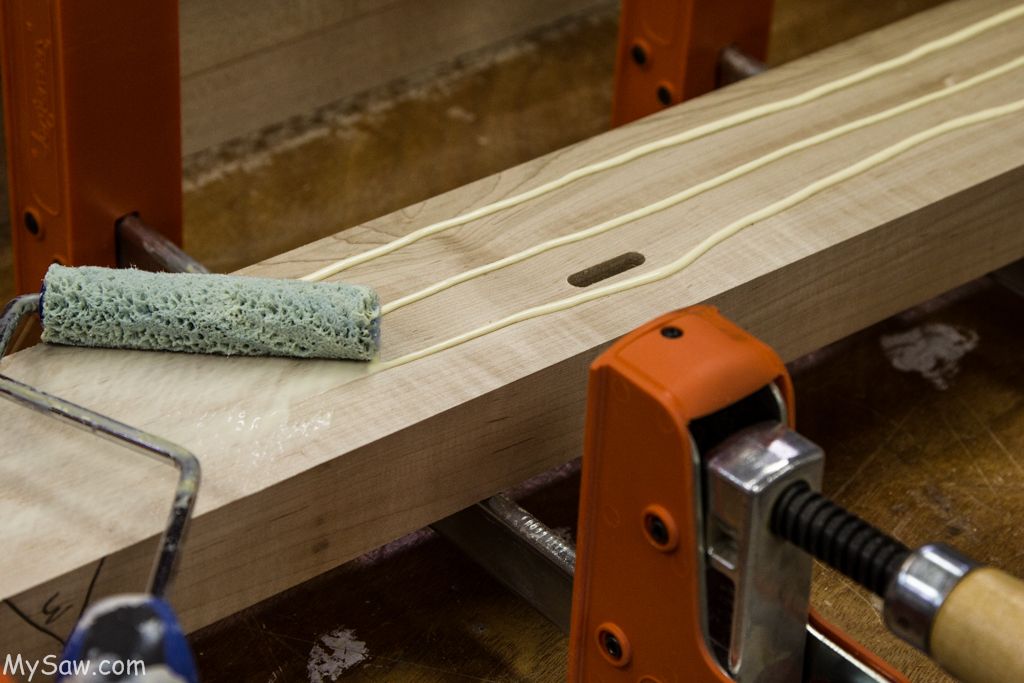
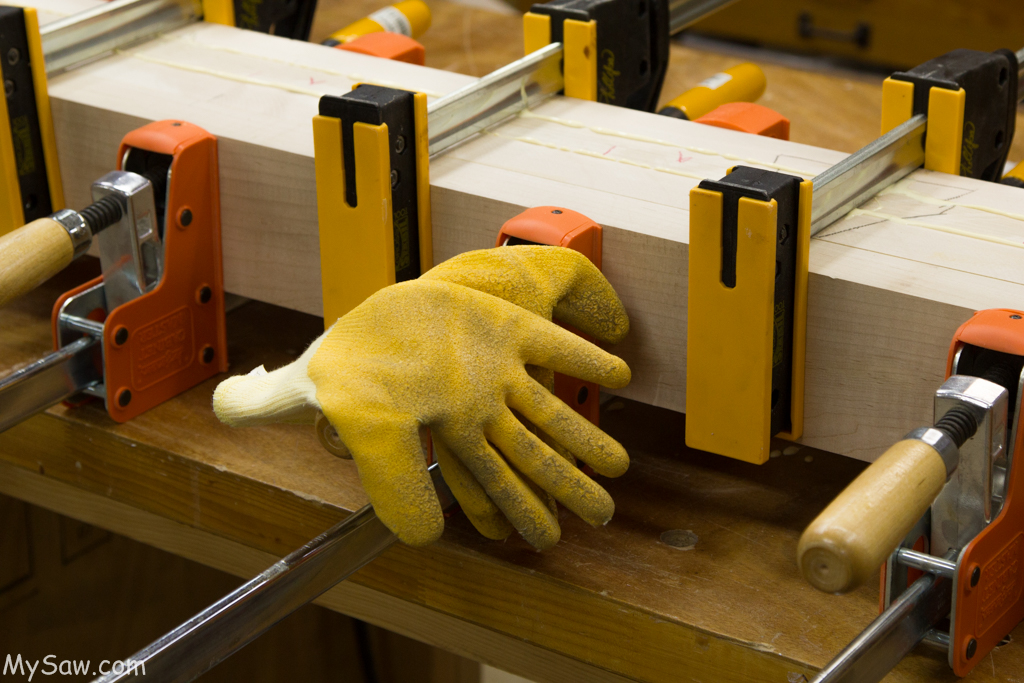
I made two changes to the glue up process. I used a new bottle with a very small hole in the nipple. And I used a very short nap 4″ roller. This worked great. I did not feel I would out of control with the glue up process. I again used 17 clamps to insure and absolute excellent glue up. As Ralph like to say, it is “cooking” now.
So the shop needs a good cleaning. I will get that tomorrow and hopefully another section will be glued up.
Bench Build Blog Index
Please enjoy the pictures below. More details on the specific steps.