Next step is the drawer cabinet. The design ( below ) is to have two shelf units and the drawer unit.
NOTE: All parts of these cabinets are 3/4″ Home Depot Sande Ply.
This process follows steps that I have developed over several projects.
- Determine the size of the box
- Decide drawer configuration with drawer heights.
- Purchase the drawer slides
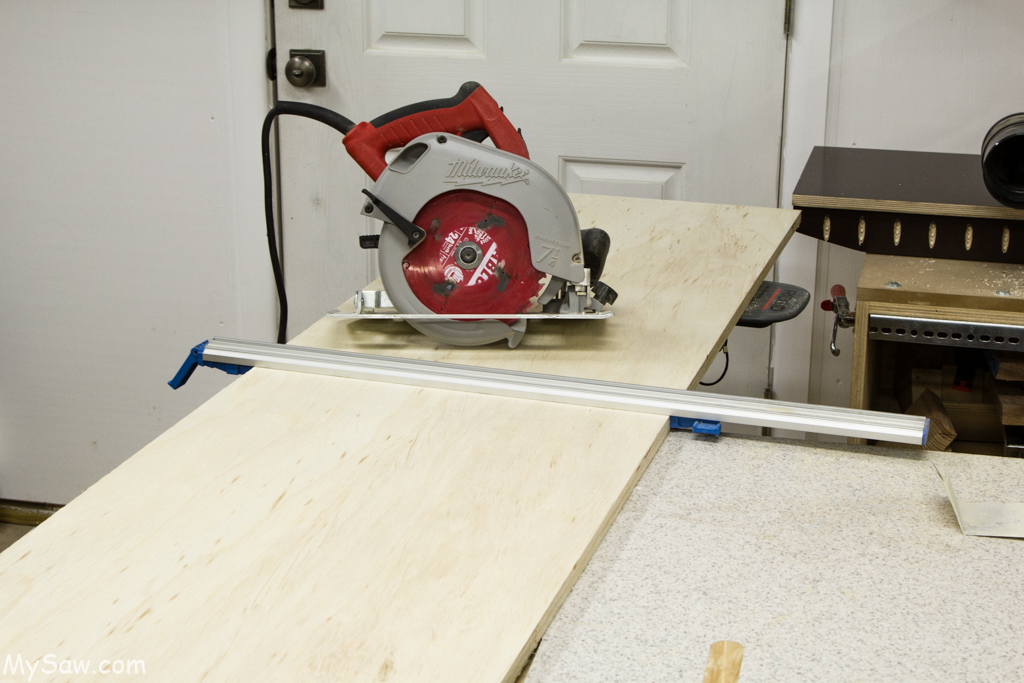
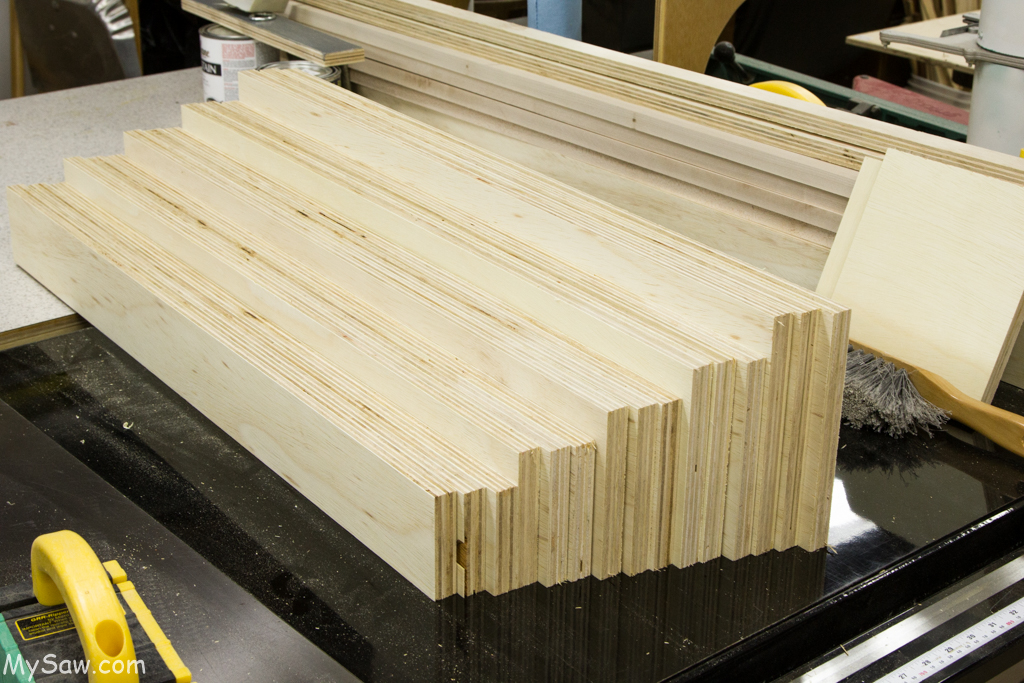
- Cut cabinet panels and stretcher pieces for assembly.
- Cut drawer box parts ( front, back, sides and bottom )
- Layout exact position of outside part of drawer slides.
- Attach drawer slides
- Build Box
- From exact box dimensions, cut front and back drawer box cross memebers.
- Pre-finish drawer box parts
- Assemble drawer boxes using pocket holes
- Add drawer slider parts
- Create drawer fronts after drawers are in the cabinet.
- Fit and attach drawer fronts
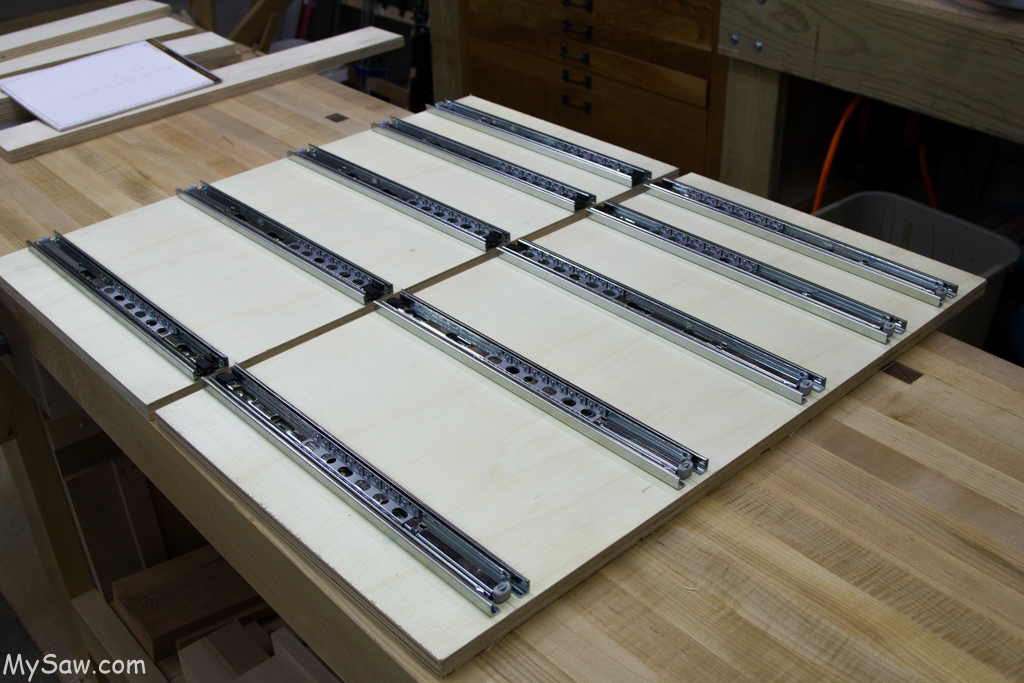
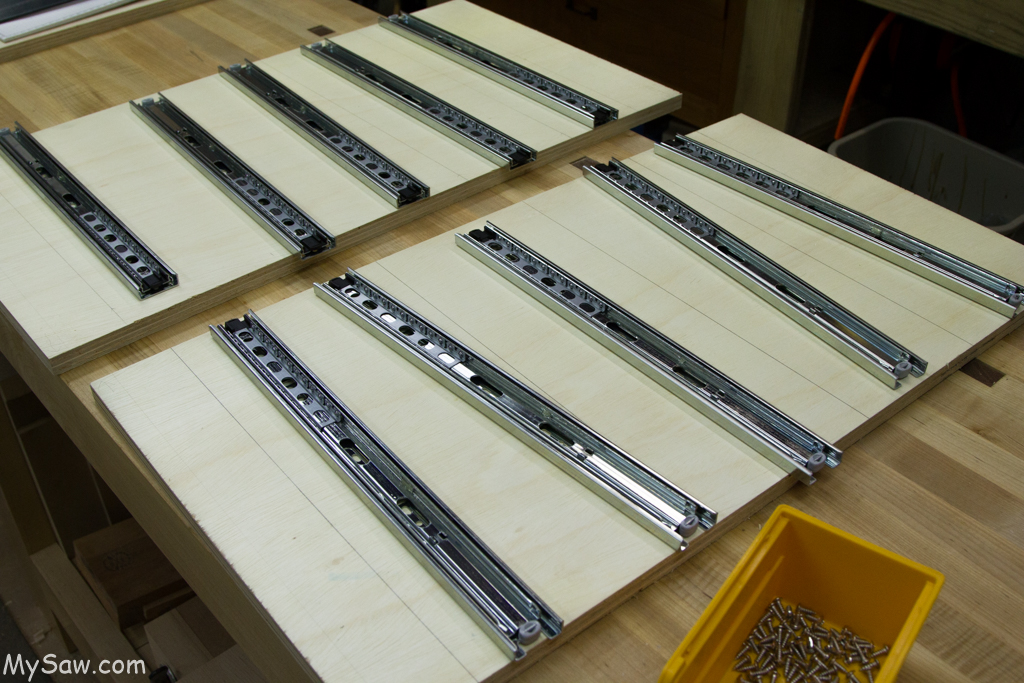
Attaching Drawer Slides
I have found attaching drawer slides much easier while the box is in parts. I can simply place the two sides, side by side and clamp, then mark the slider positions on both sides at the same time. This will guarantee the sliders to be exactly the same spacing. As a note, slider should be about 2″ from the bottom of the drawer.
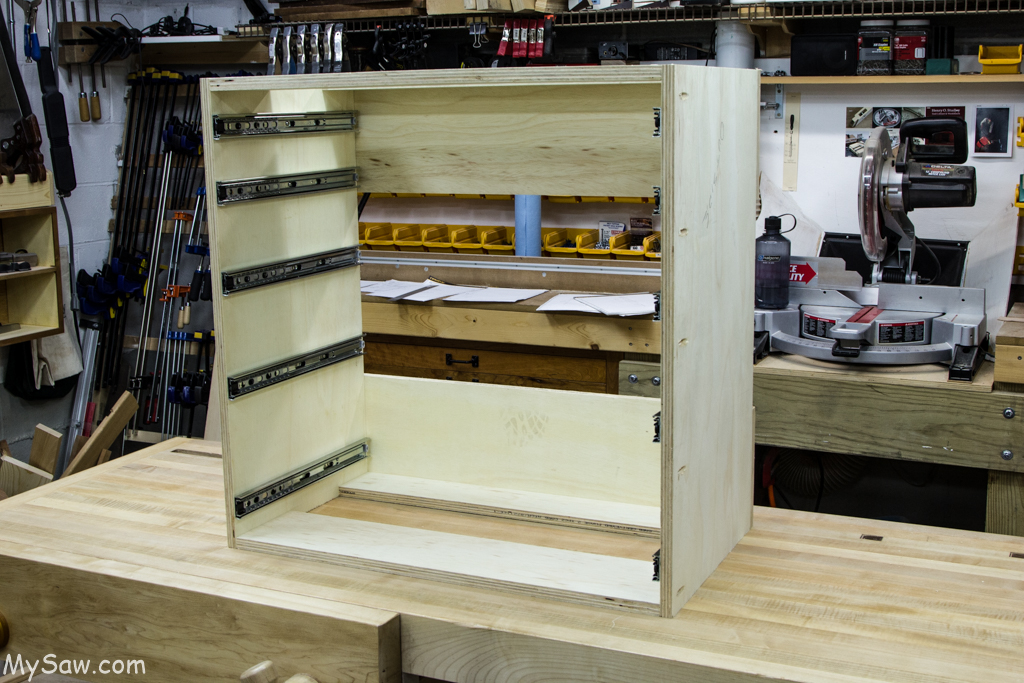
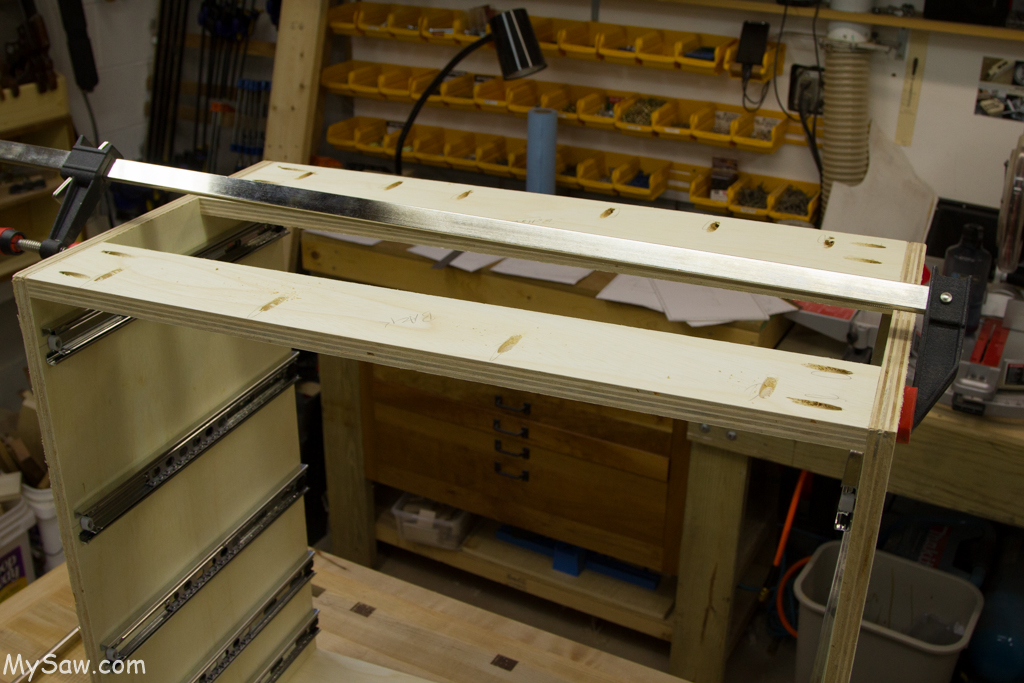
Cabinet Box
The cabinet box is basic pocket hole construction. Top and bottom stretcher instead of full panels. This saves a lot of plywood.
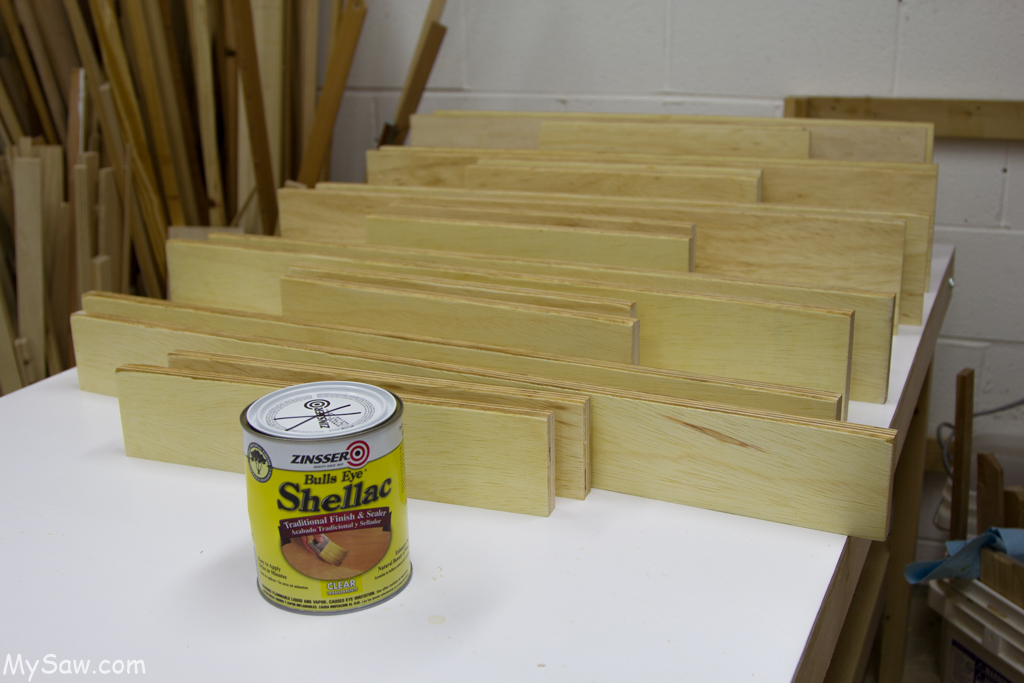
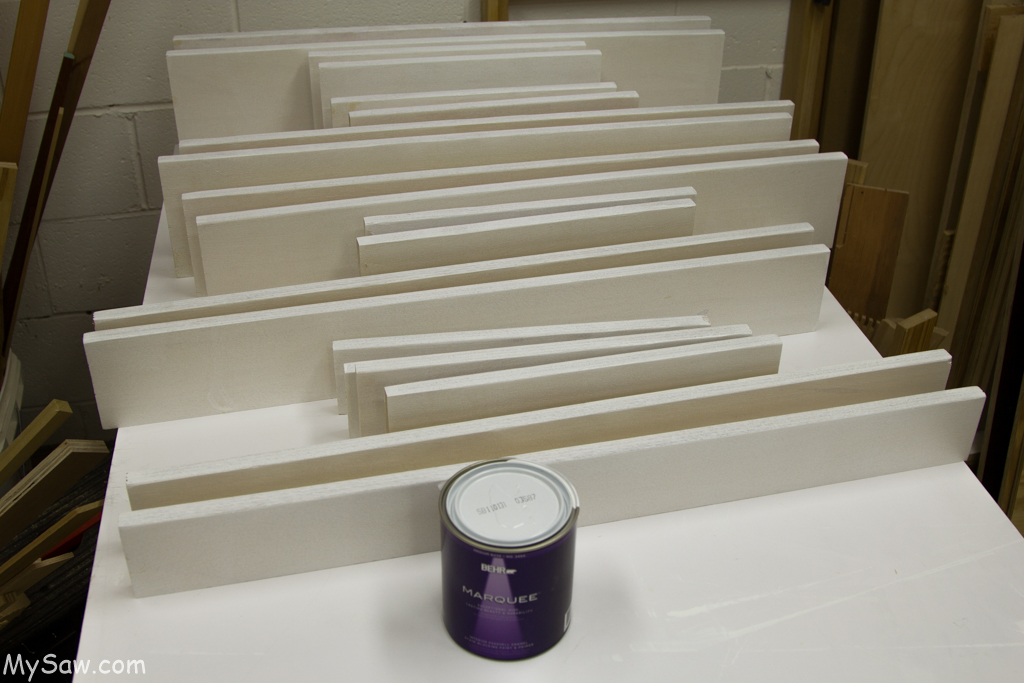
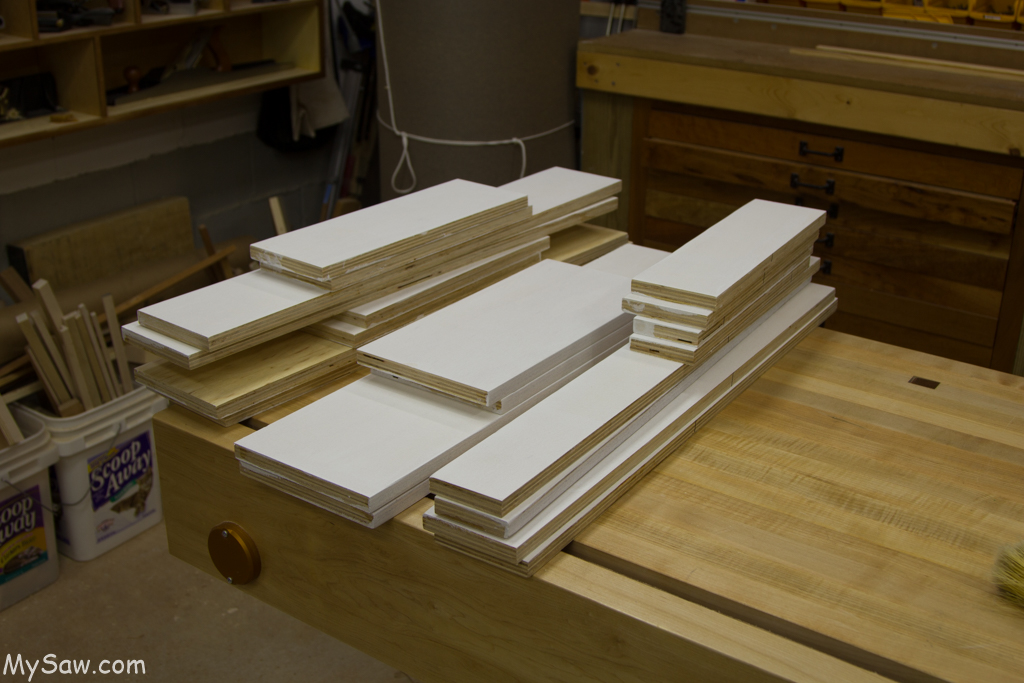
Pre-finishing all the parts
I am going to through the process of pre-finishing all of the drawer and cabinet parts. This takes a lot of time and several steps to complete each set of parts.

Below is the album of pictures and commentaries on this work.