The plane and saw till was part 4 of a six part process.
- A new set of shelves. This cleared space so I could move my 8 organizer boxes to the right side of the cutoff saw table.
- Moving 10 organizer boxes from one side of the back wall to the other.
- A new Chisel Chest. A 7 drawer cabinet to contain all of my measuring and marking tools and all of my chisels.
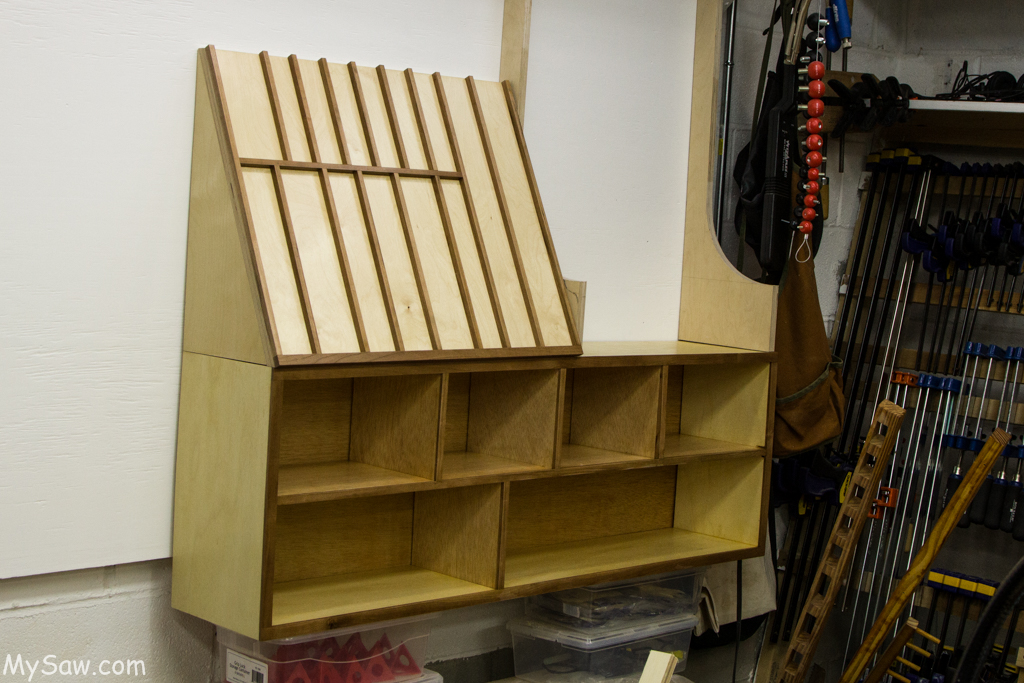
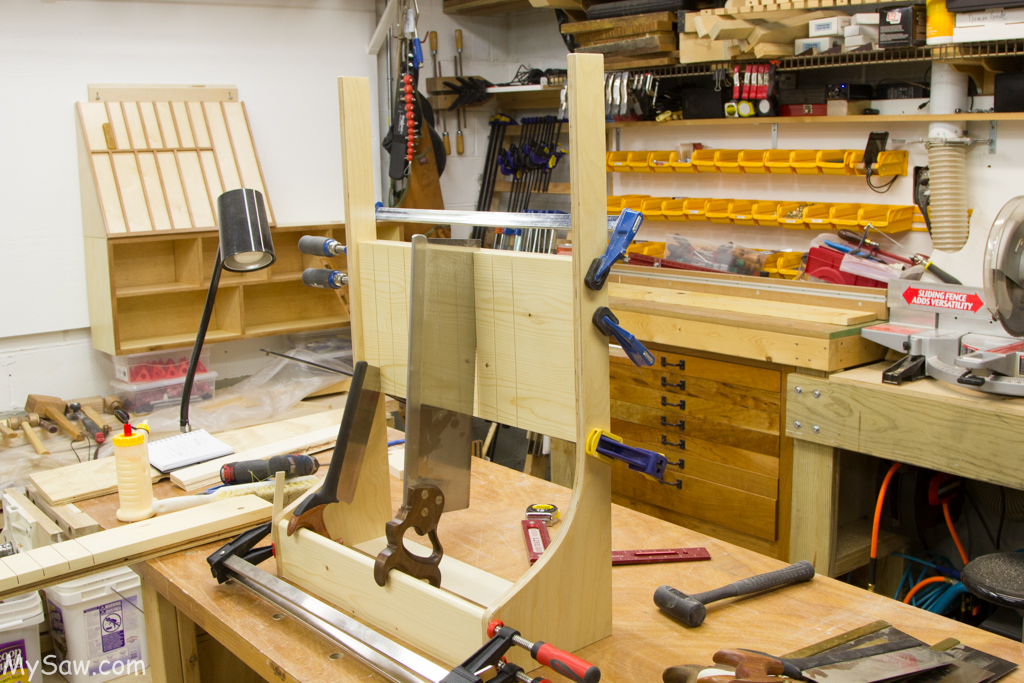
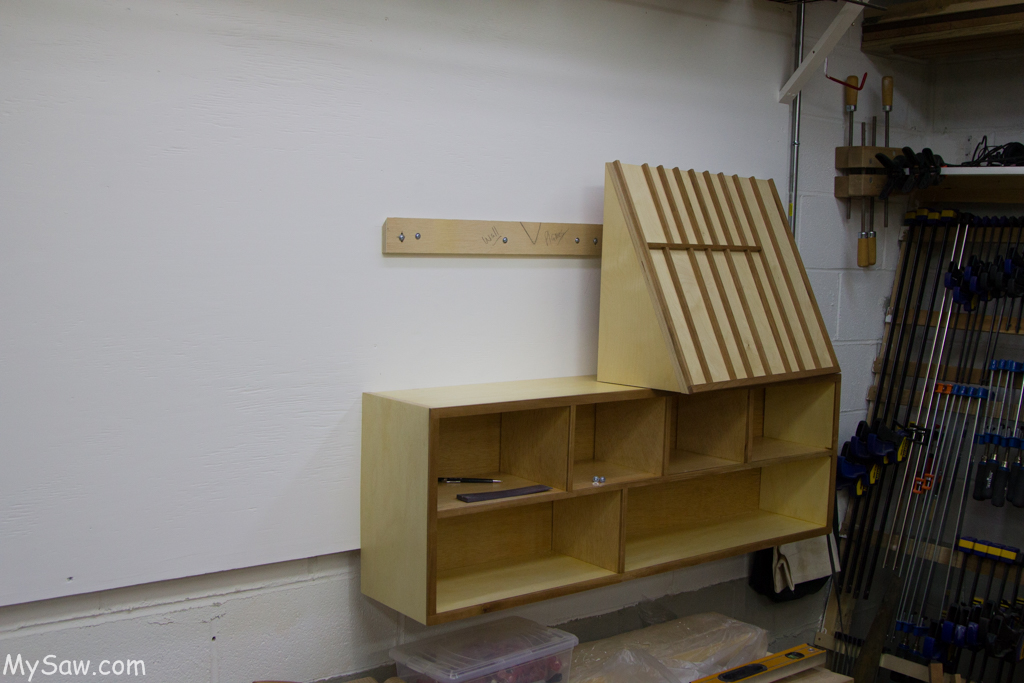
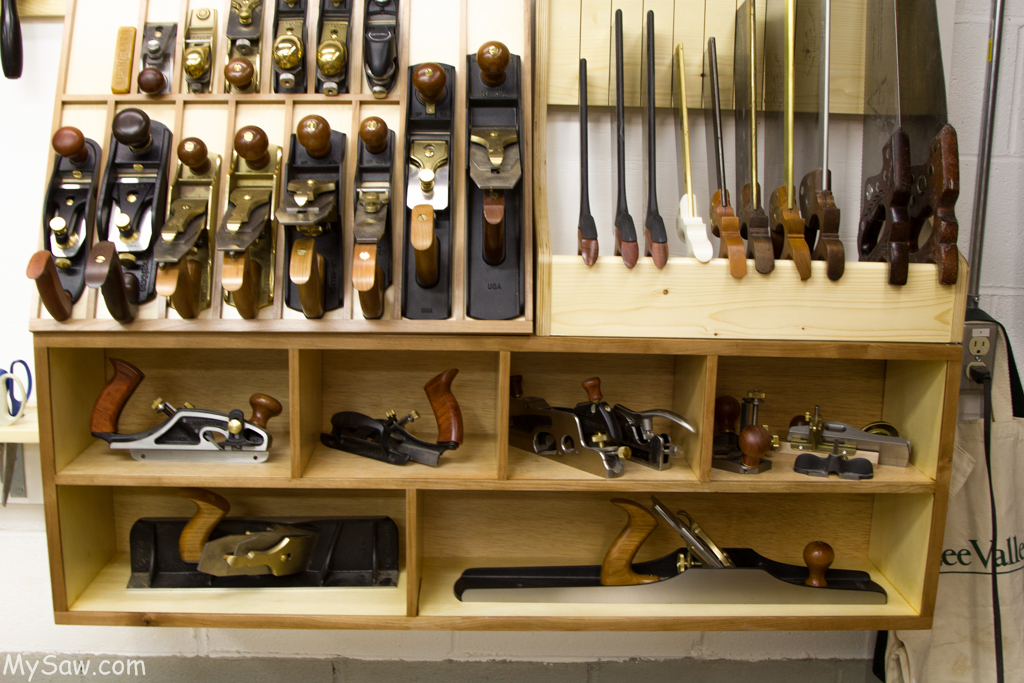
- A new Plane and Saw Till. This would be added to the “Tool Wall”
- A complete reorganization of the tool wall, including adding 2 feet of space, new hammer rack, screw driver rack and moving handy-man tools into seperate tool boxes.
- The new workbench, “WorkBench TWO”.
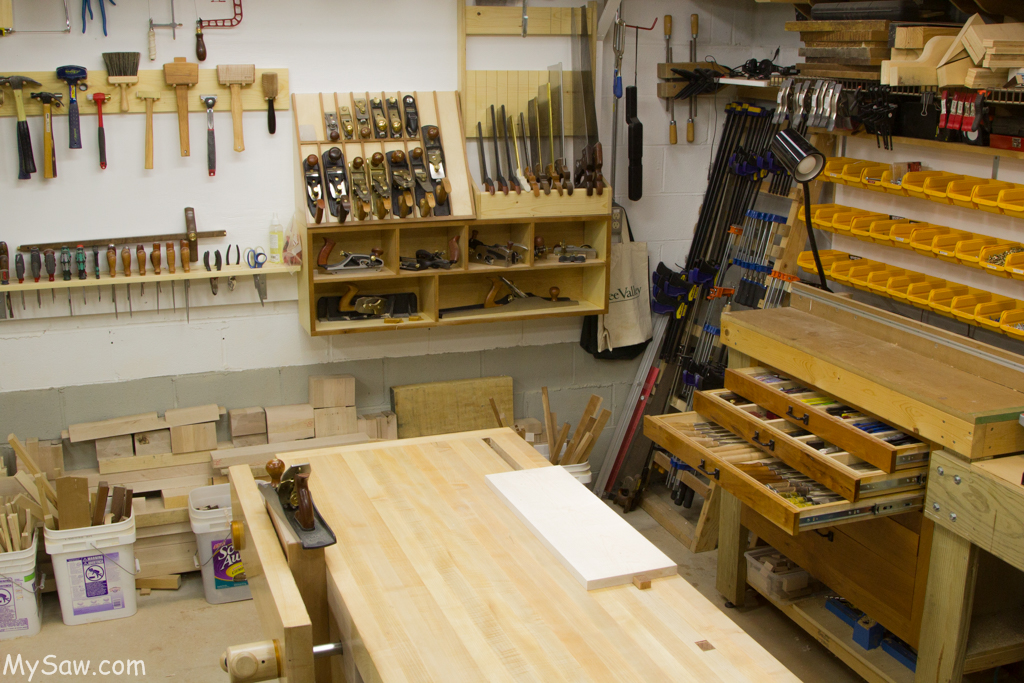
As I have said before I do not like tool cabinets, that must be opened to access tools. I wanted my planes, saw, screwdrivers hammers and a few other tools on the tool wall, so I could just reach for them.
Build Information:
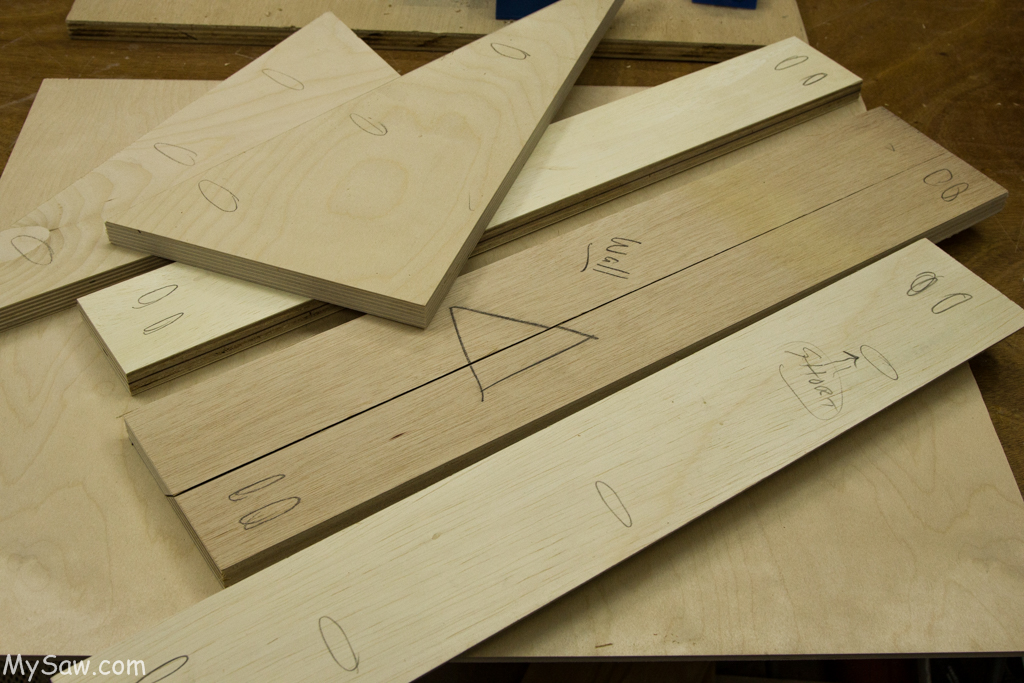
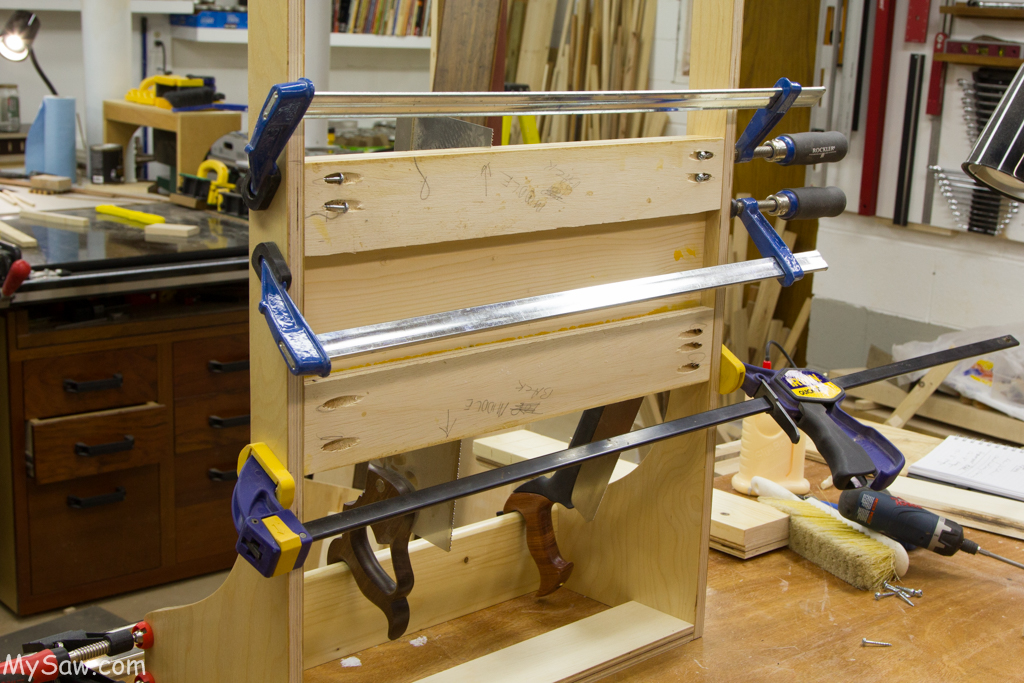
- Russian Birch ply for the sides and top of the plane till.
- Home Depot Sande Ply for construction pieces and saw till.
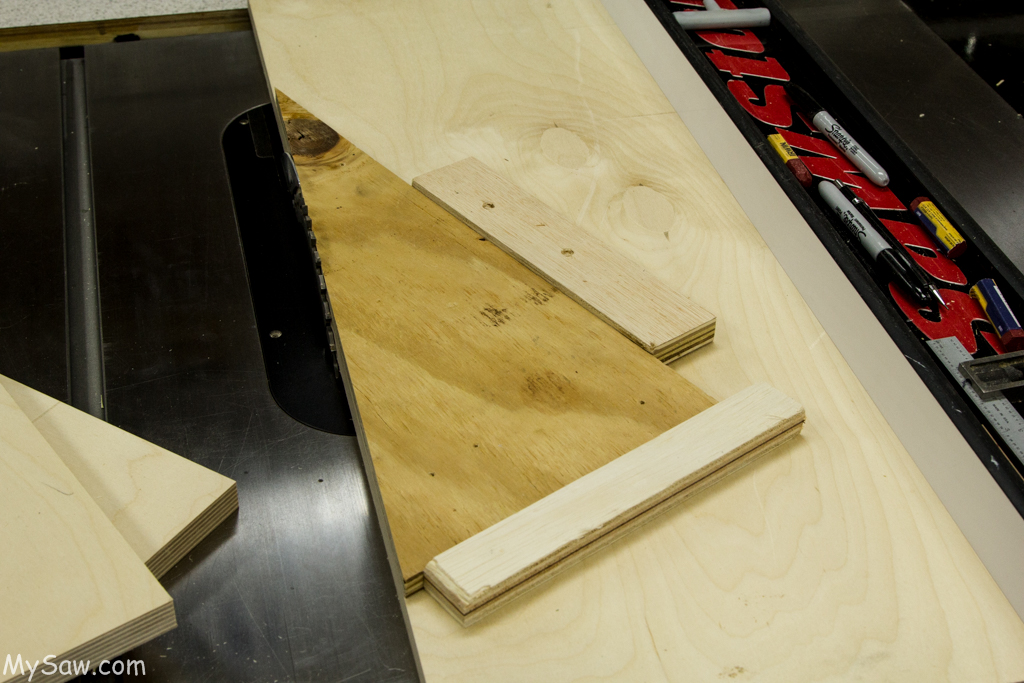
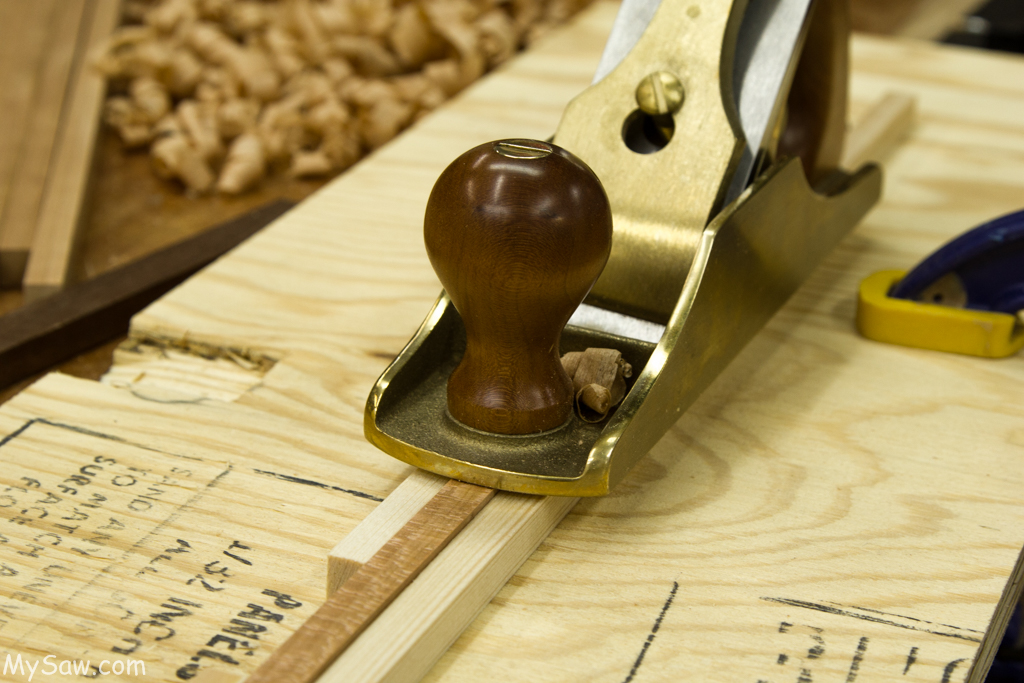
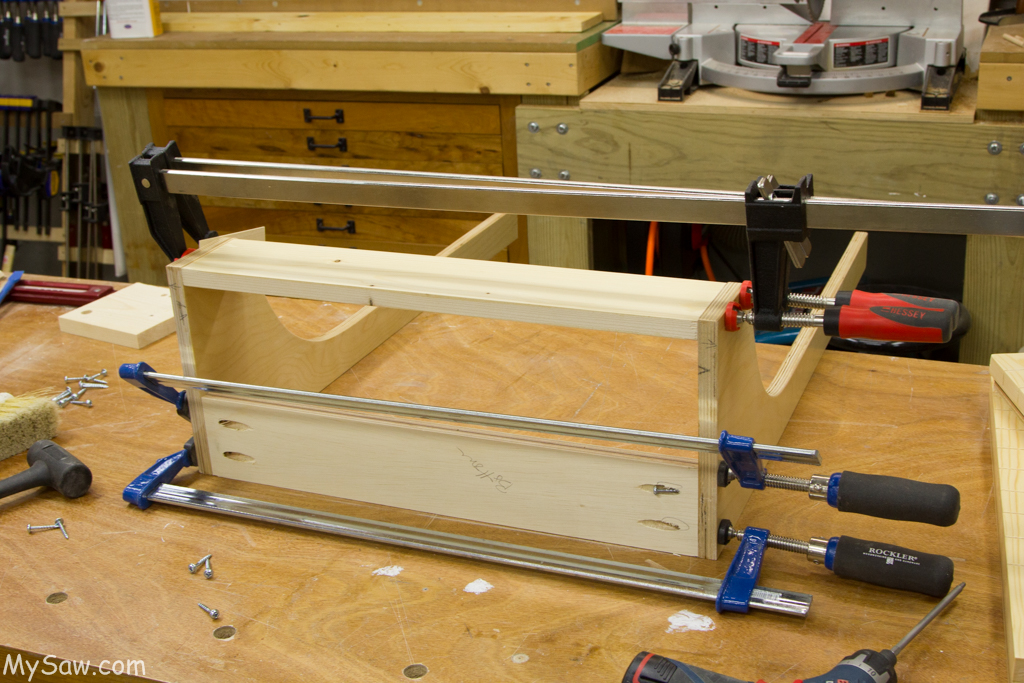
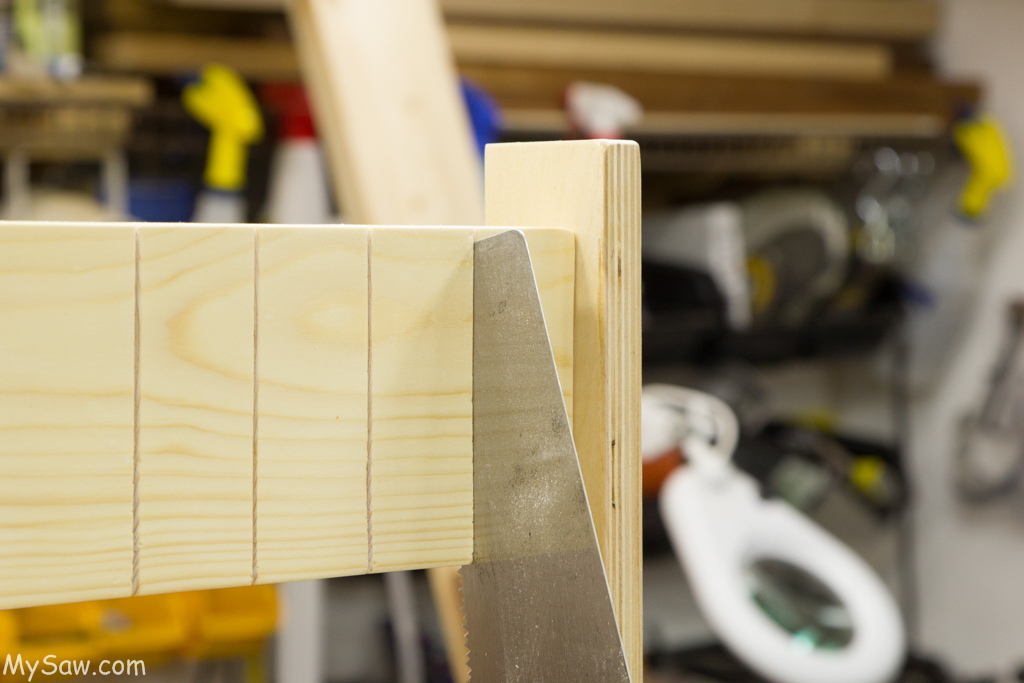
- The cross member, saw rests, are Italian soft “pine” type material from a packing crate.
- Trim is cherry.
- Finish is all General Finishes – Enduro Var
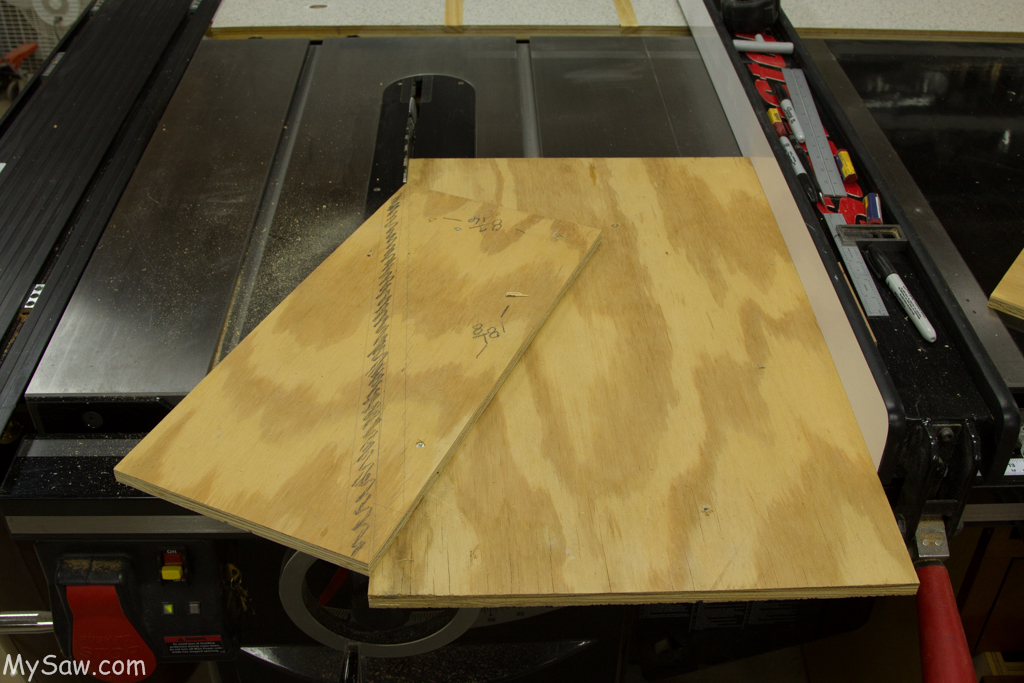
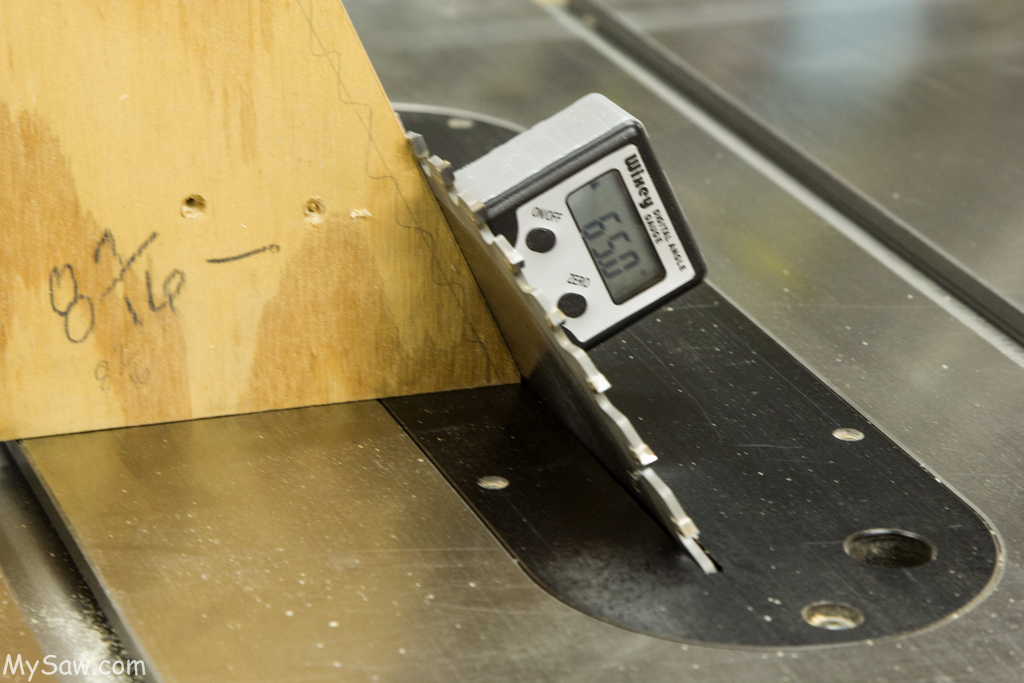
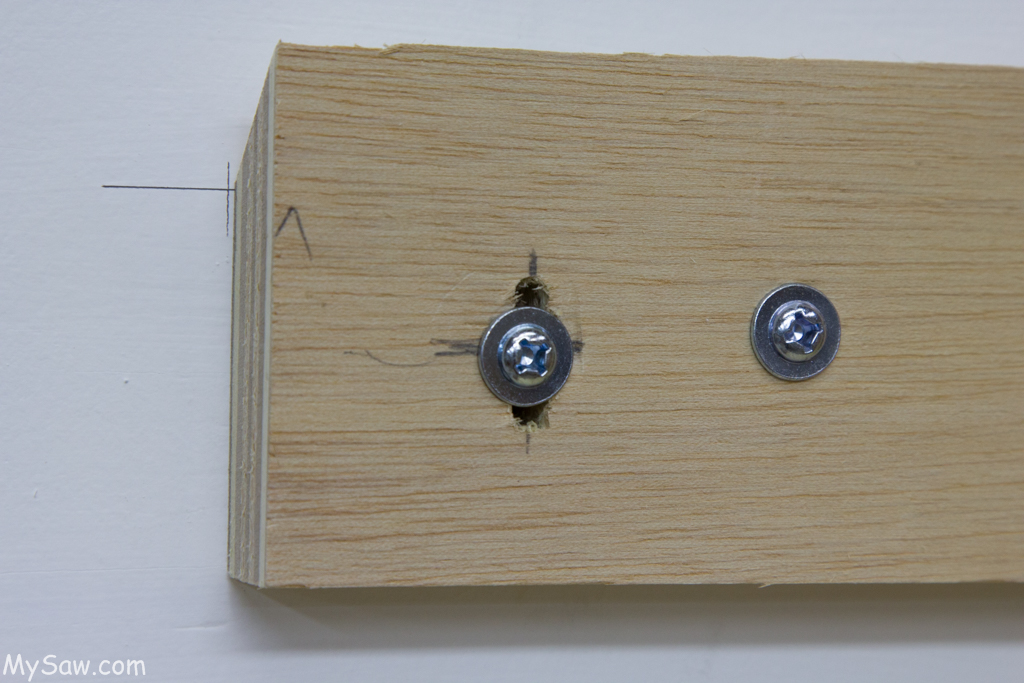
In designing the piece I was concerned with the depth of the piece to the wall. Based on that I decided not to include the #8 plane. As part of the design I evaluated the planes that I really used. The result was a set of planes that did not include a Veritas #4, which I sold. I also decided that all of the miscellaneous planes could live on a set of shelves designed to accommodate these planes plus a few future purchases. The final design ended up about 9″ deep. I also had to make sure it would fit the height of the wall, 4 ft. Based on this requirement I dropped the bottom of the shelf unit below the bottom of the tool wall lower edge.
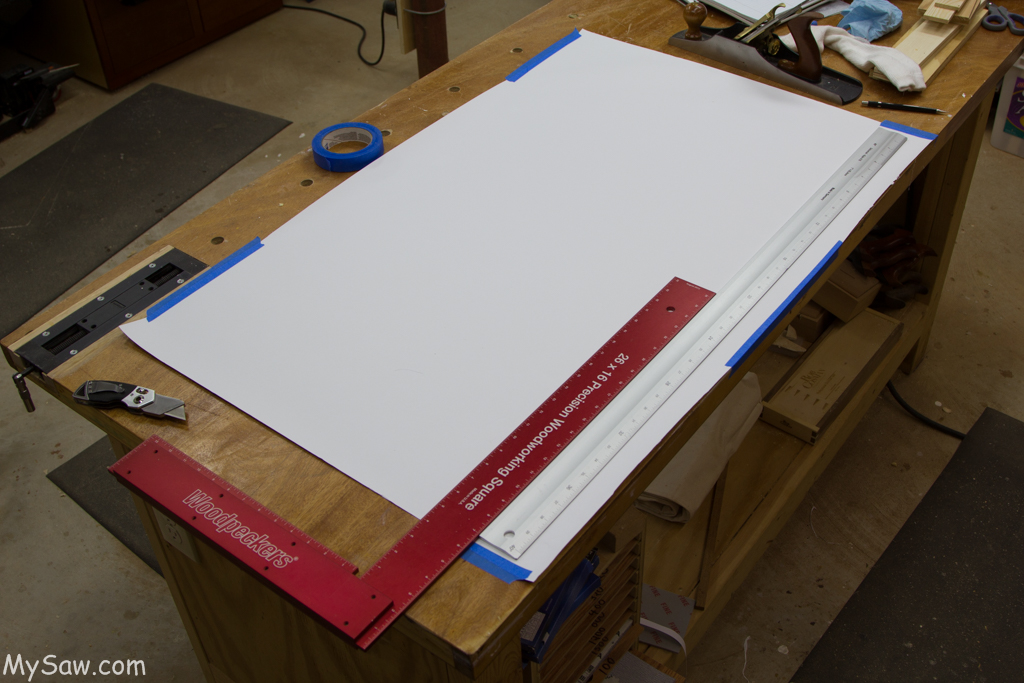
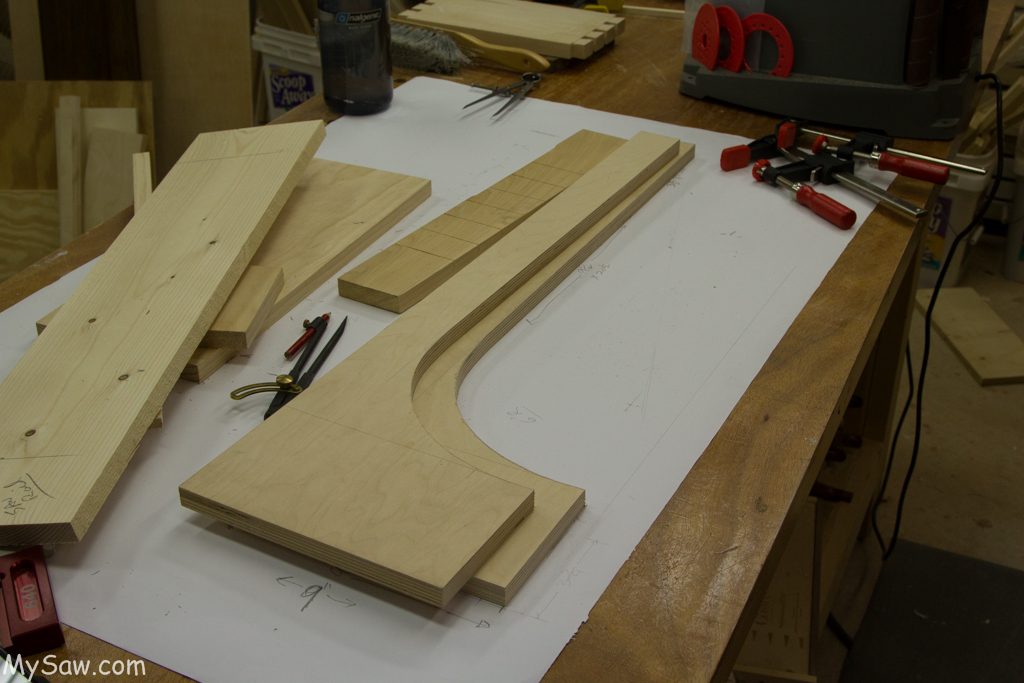
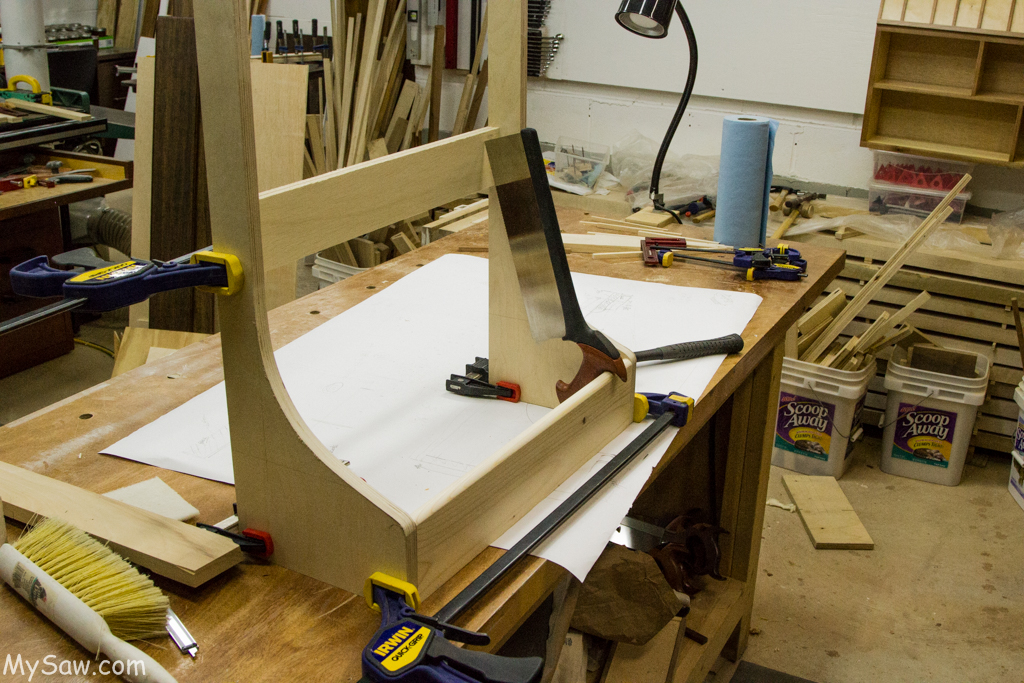
The build process included two new processes for me. First I made a full size mock up to test the spacing and actual angle. Second was a full size drawing. Both of these concepts proved extremely valuable. Several design mistakes were found and corrected before actual rework was required.
The entire build process is documented in the commentary on each picture.
Just click the first picture to view the album.